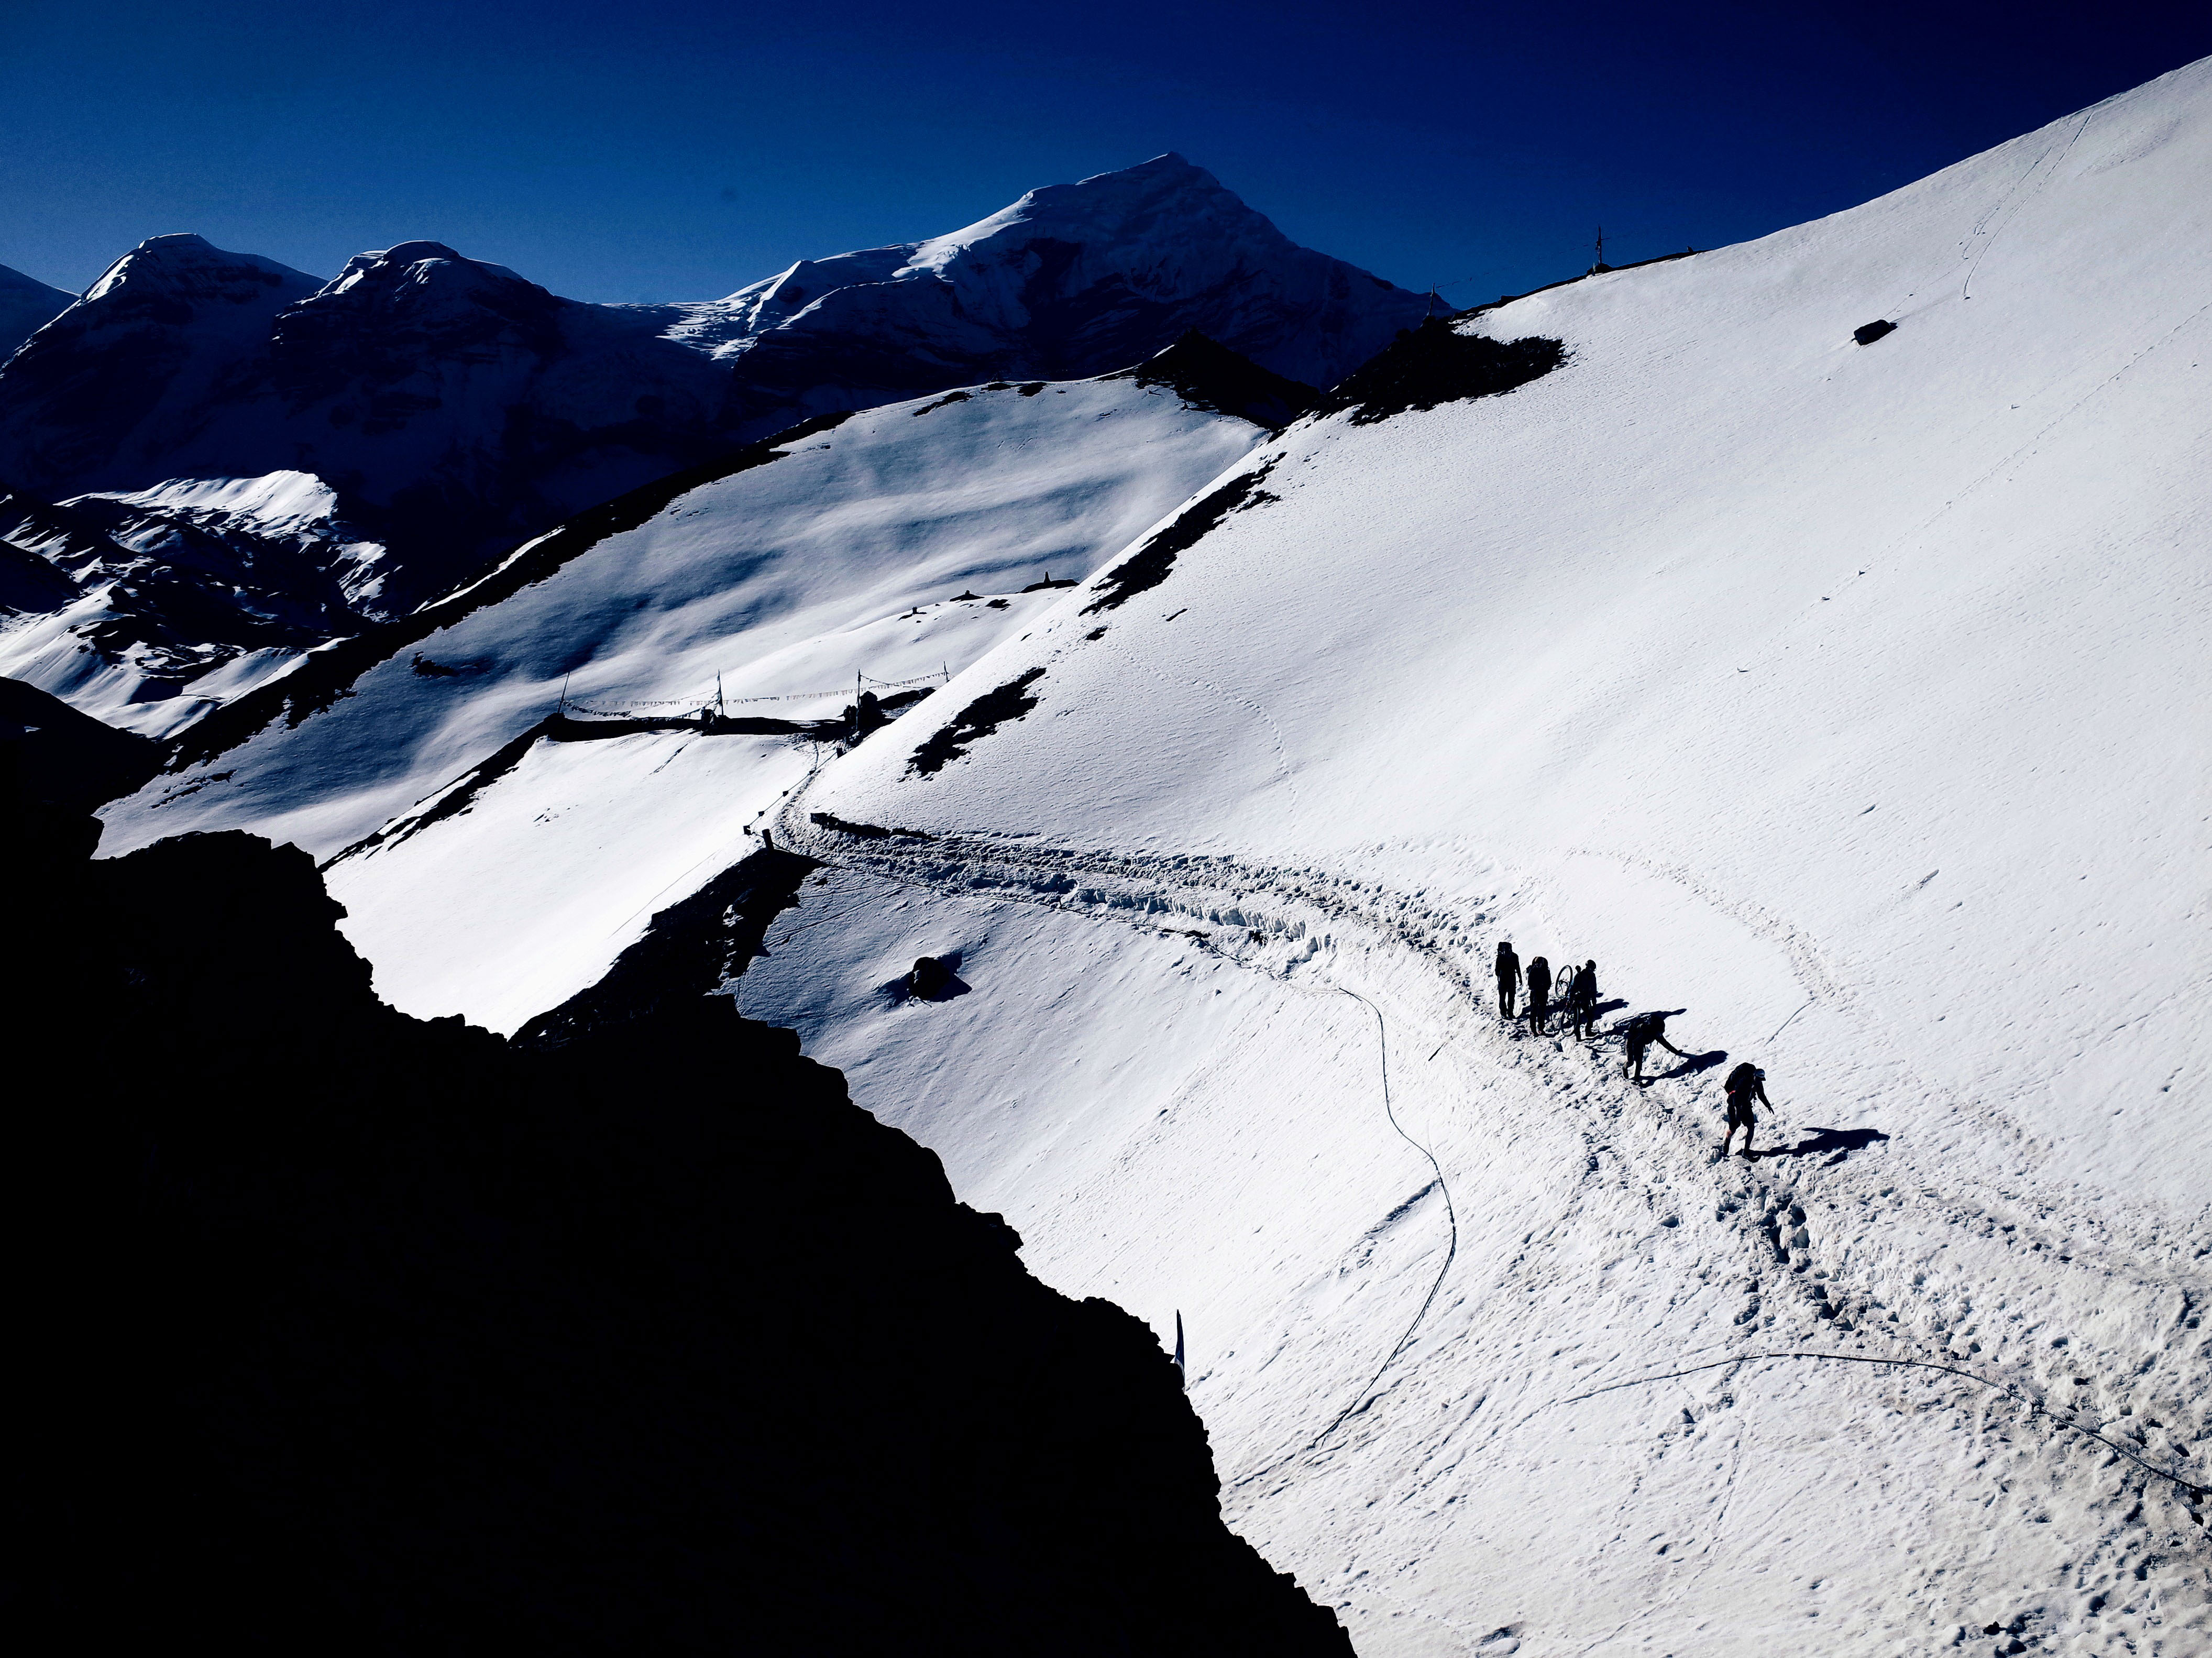
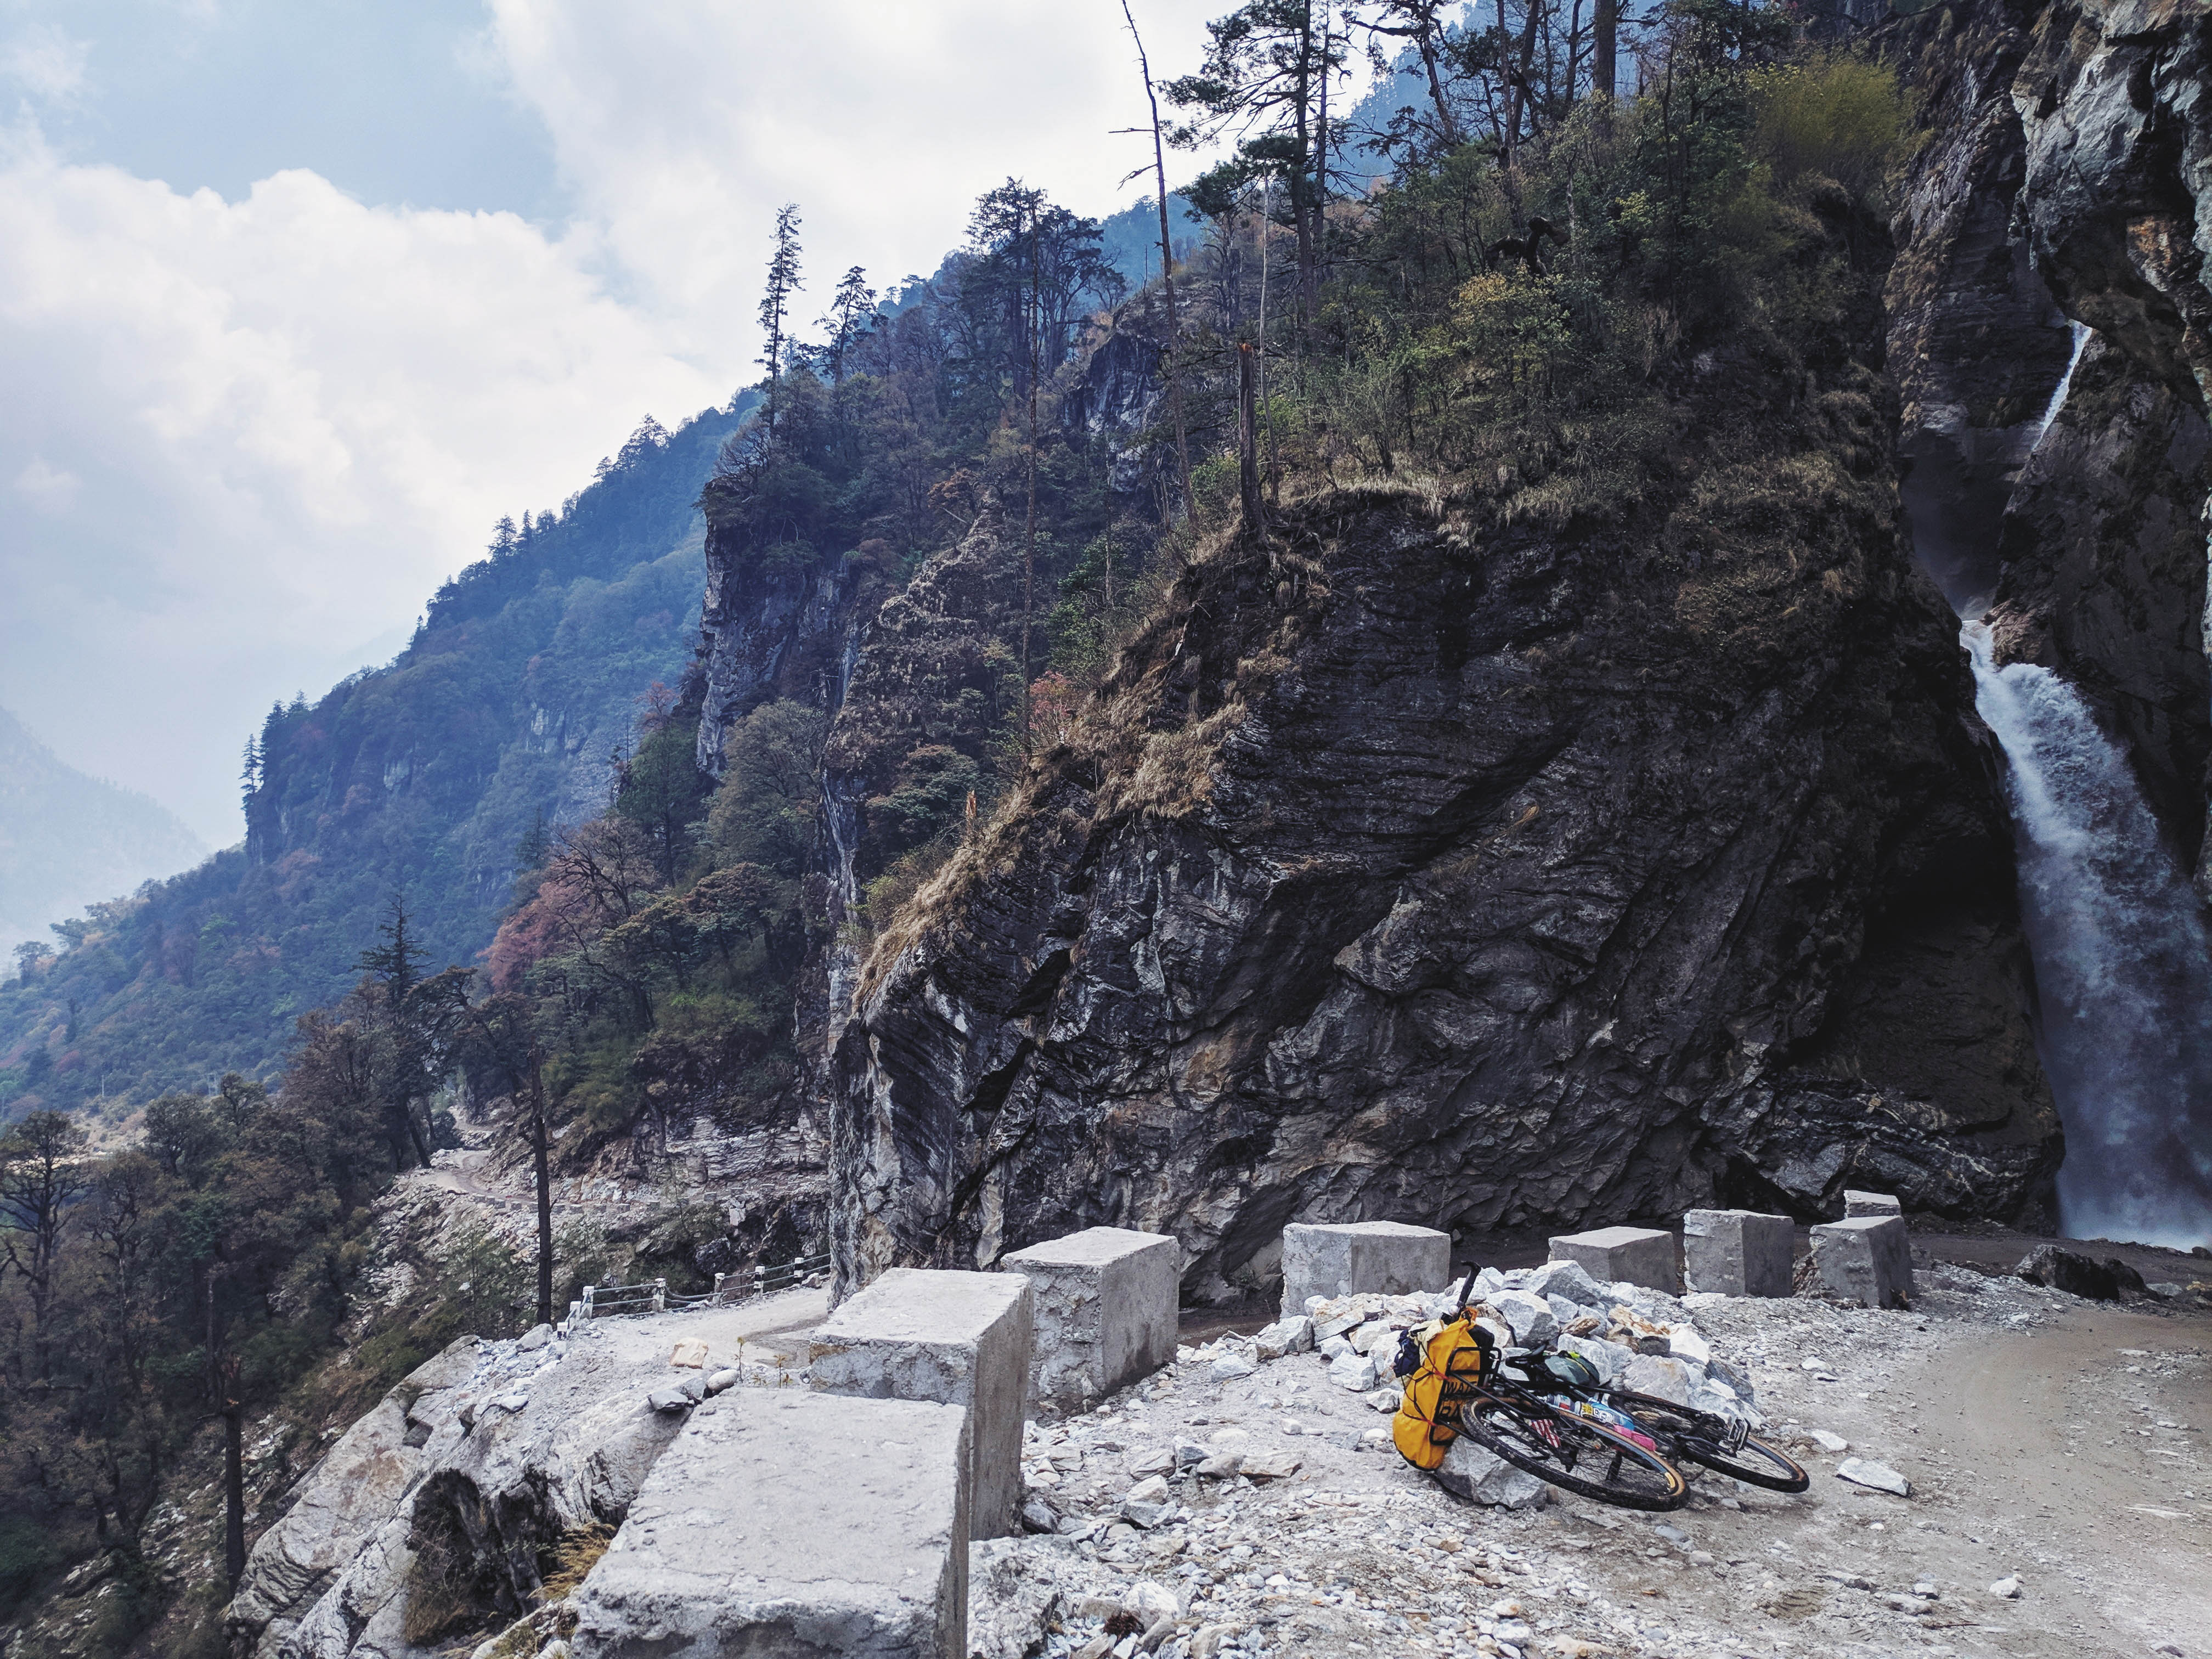
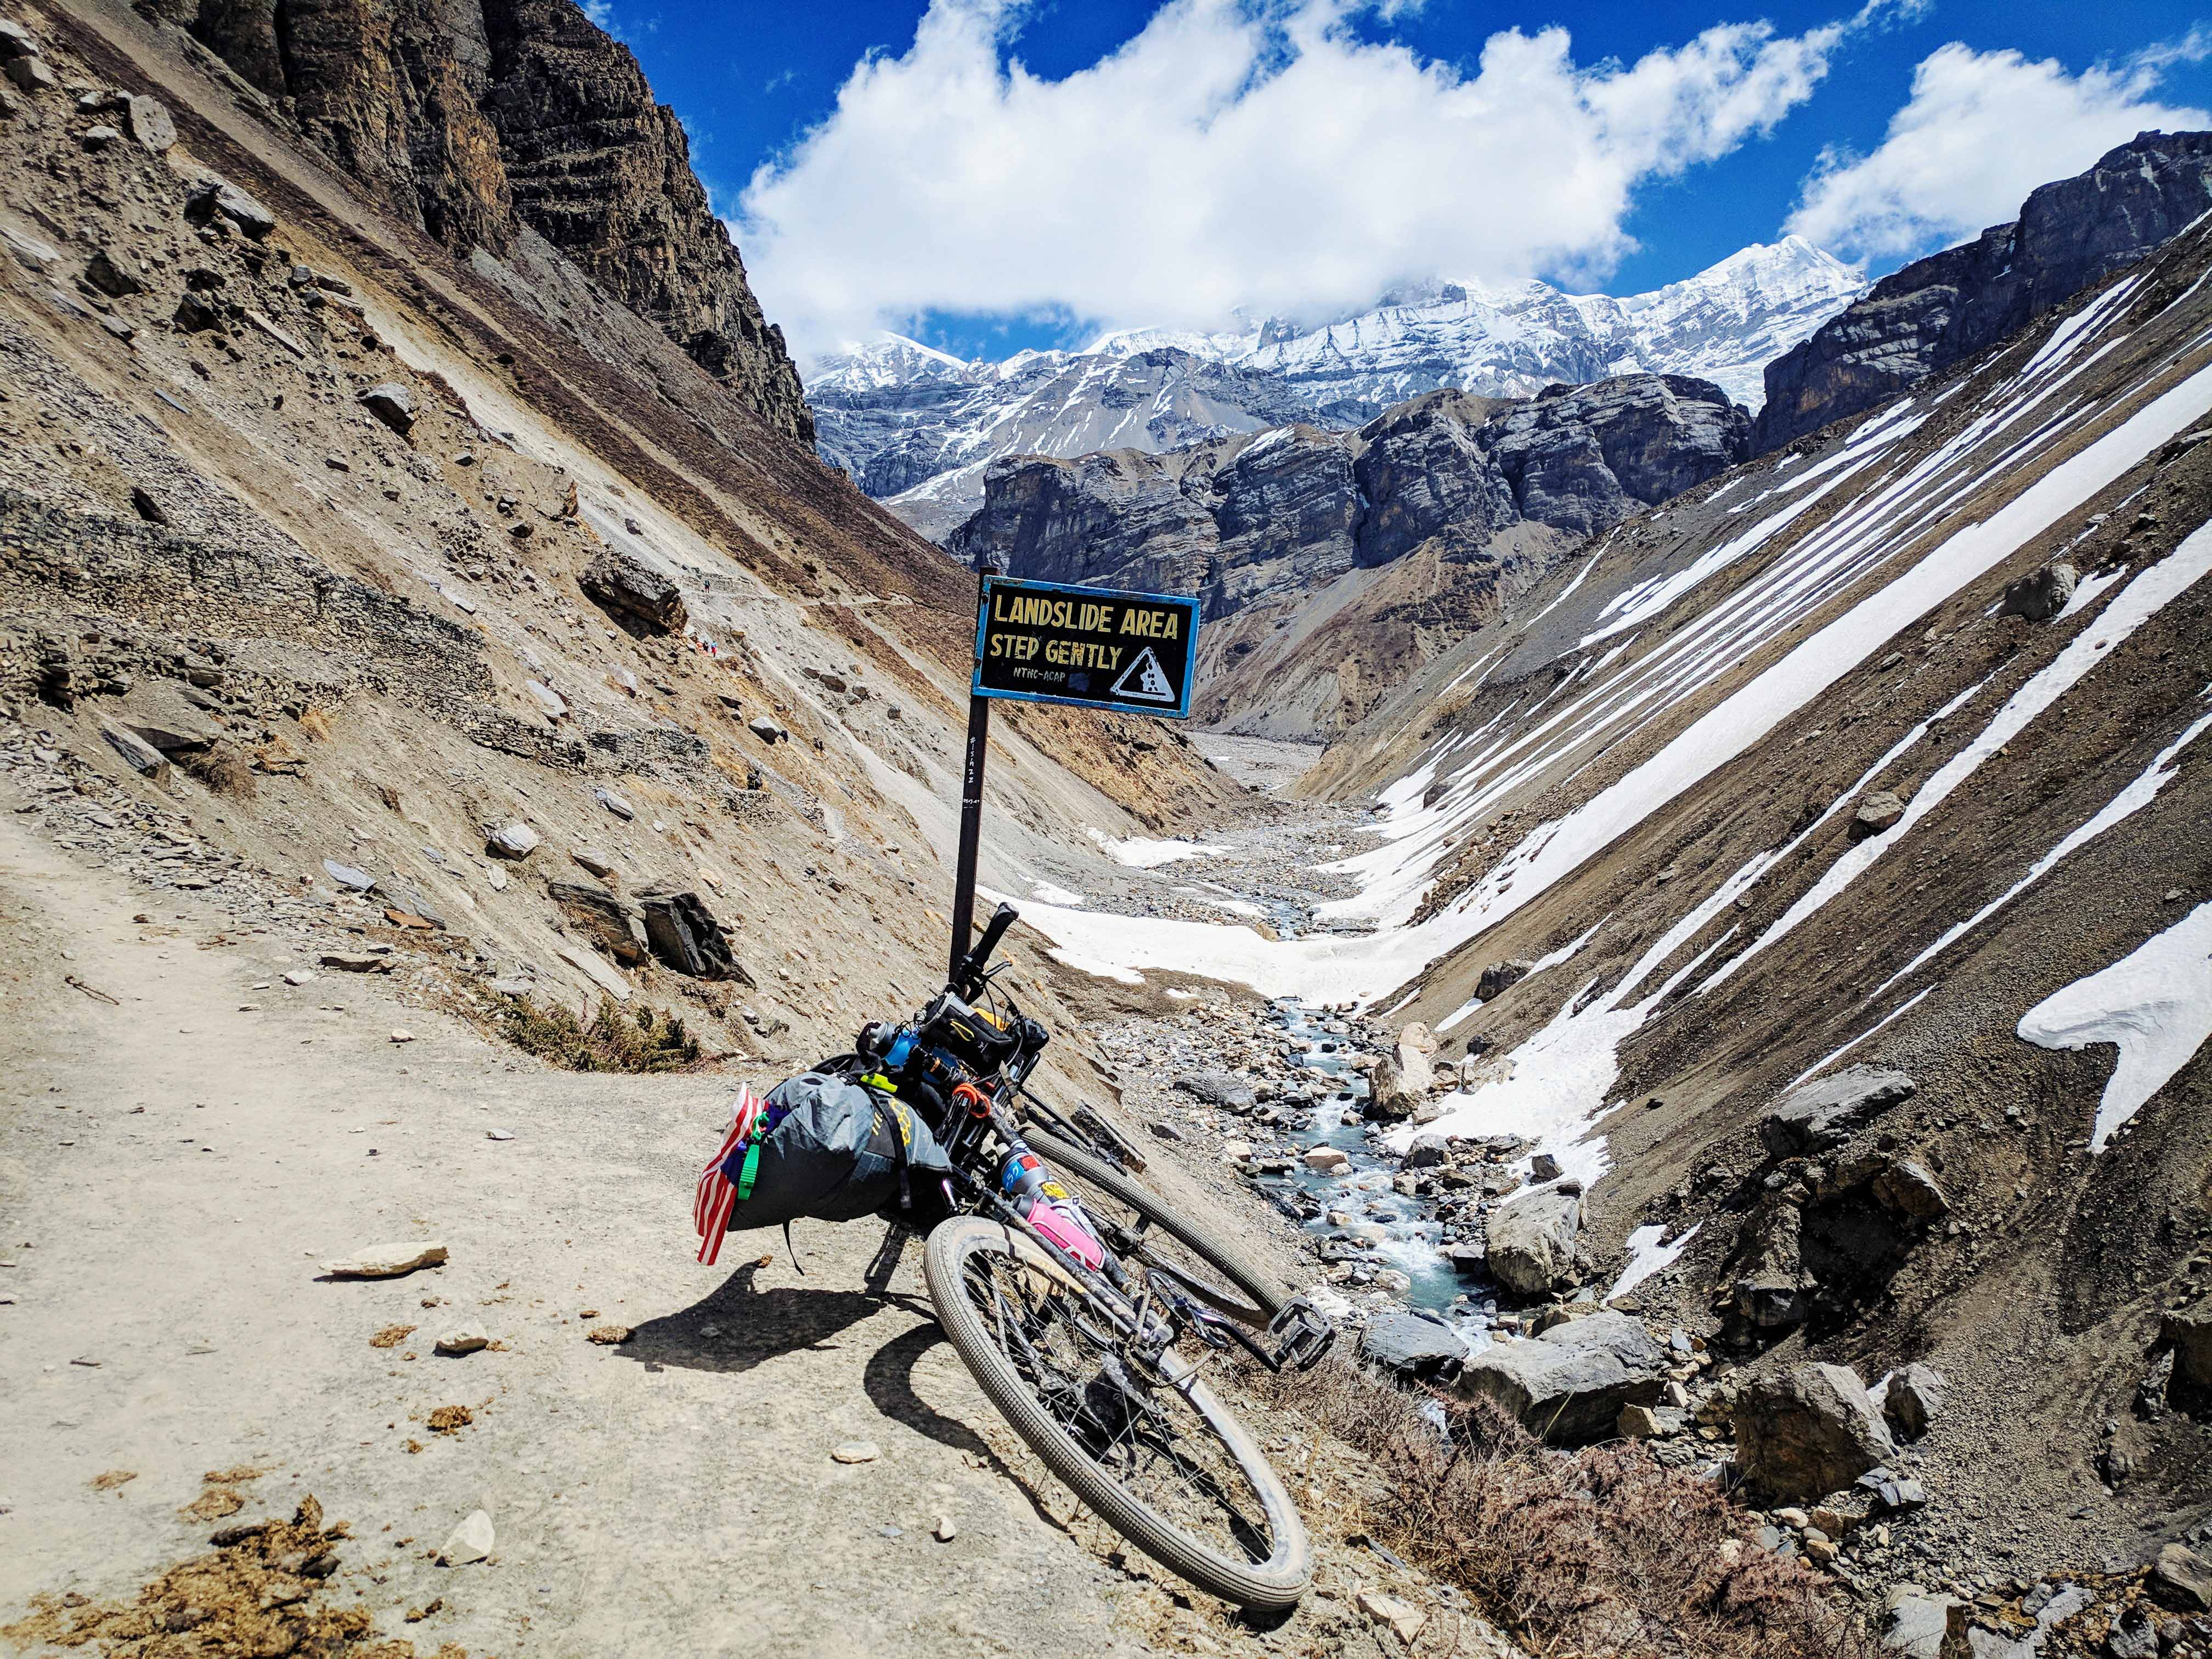
The Annapurna Circuit (AC) was listed as one of the 10 most incredible travel experiences in the world according to Lonely Planet, and often mistaken by Malaysians as the Annapurna Base Camp – ABC Trek (official name: Annapurna Sanctuary), which is actually only a small segment of the Annapurna Circuit. AC is a trek within the mountain ranges of central Nepal, encircling the Annapurna Massif & Dhaulagiri range.
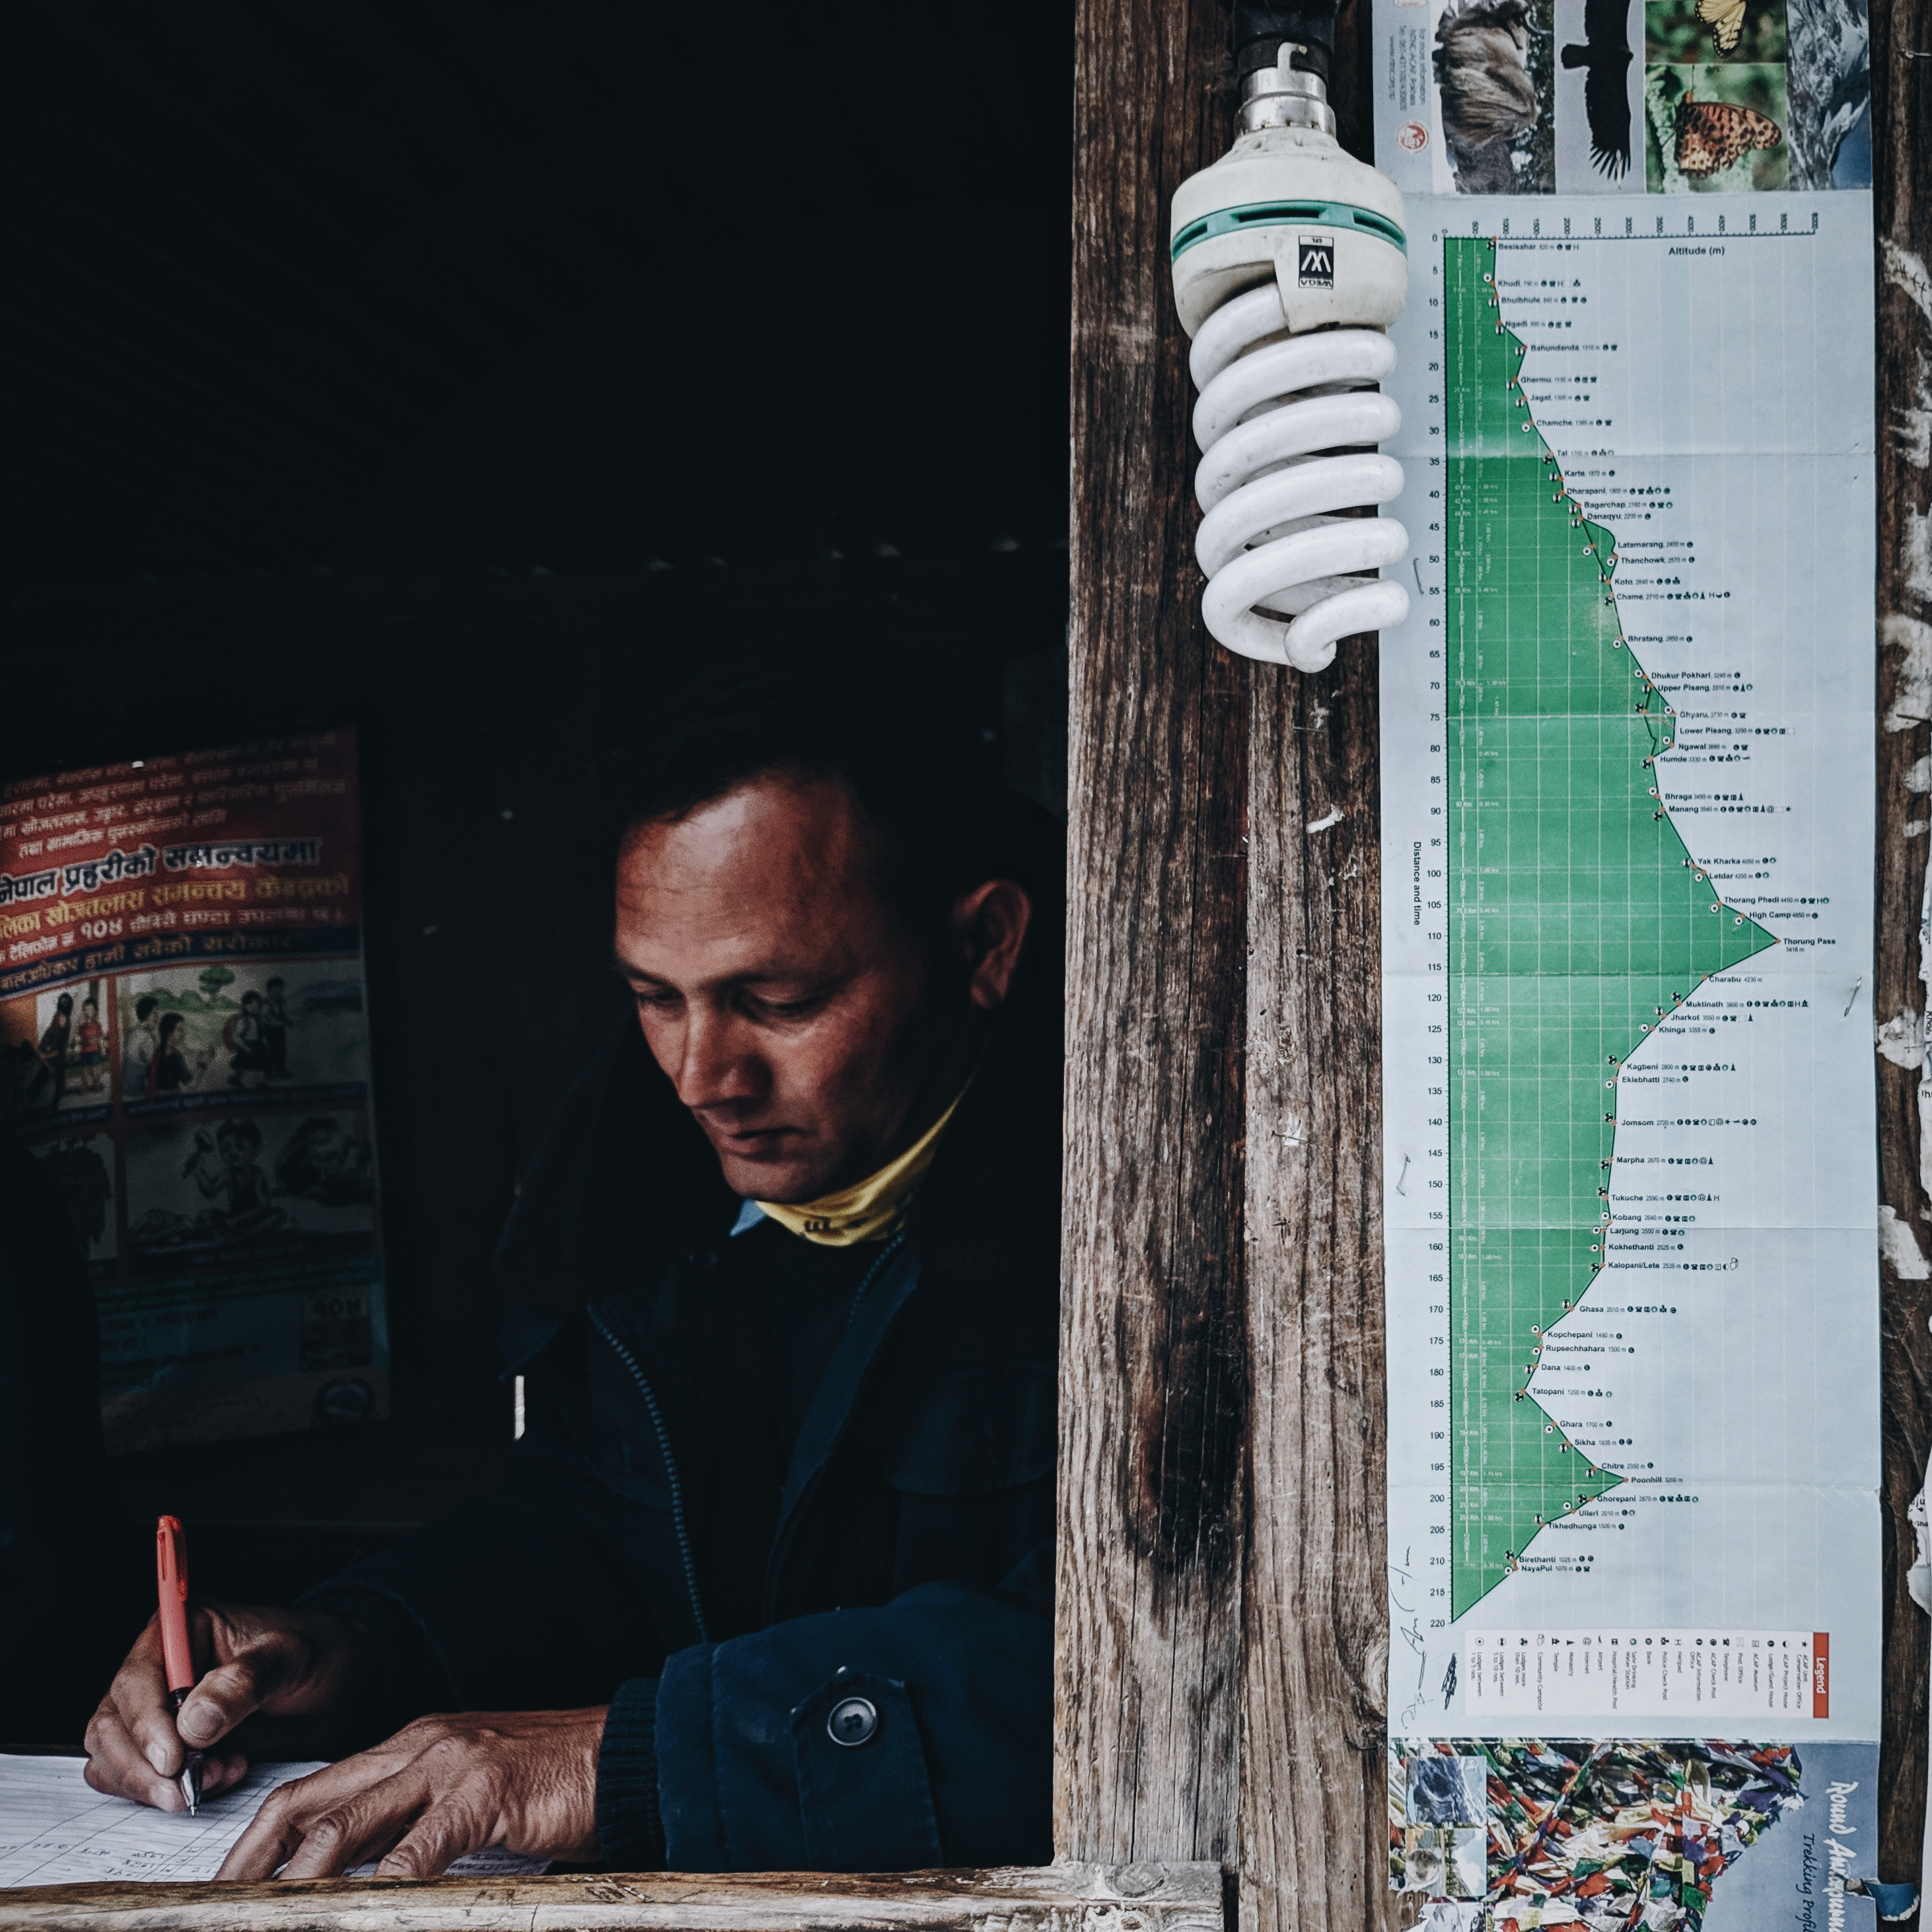
This trail is not to be taken lightly as acute mountain sickness (AMS) is not uncommon here, with its highest elevation of Thorong La pass at 5,416m MSL (note: the Everest Base Camp is 5,360m MSL for comparison). For this reason, the trip is planned using altitude instead of distance.
But the reward is unparalleled; it is one of the journeys where you can experience multiple climates from tropical, alpine, and desert elements; as well as meet people from various cultures, all within the same trek.
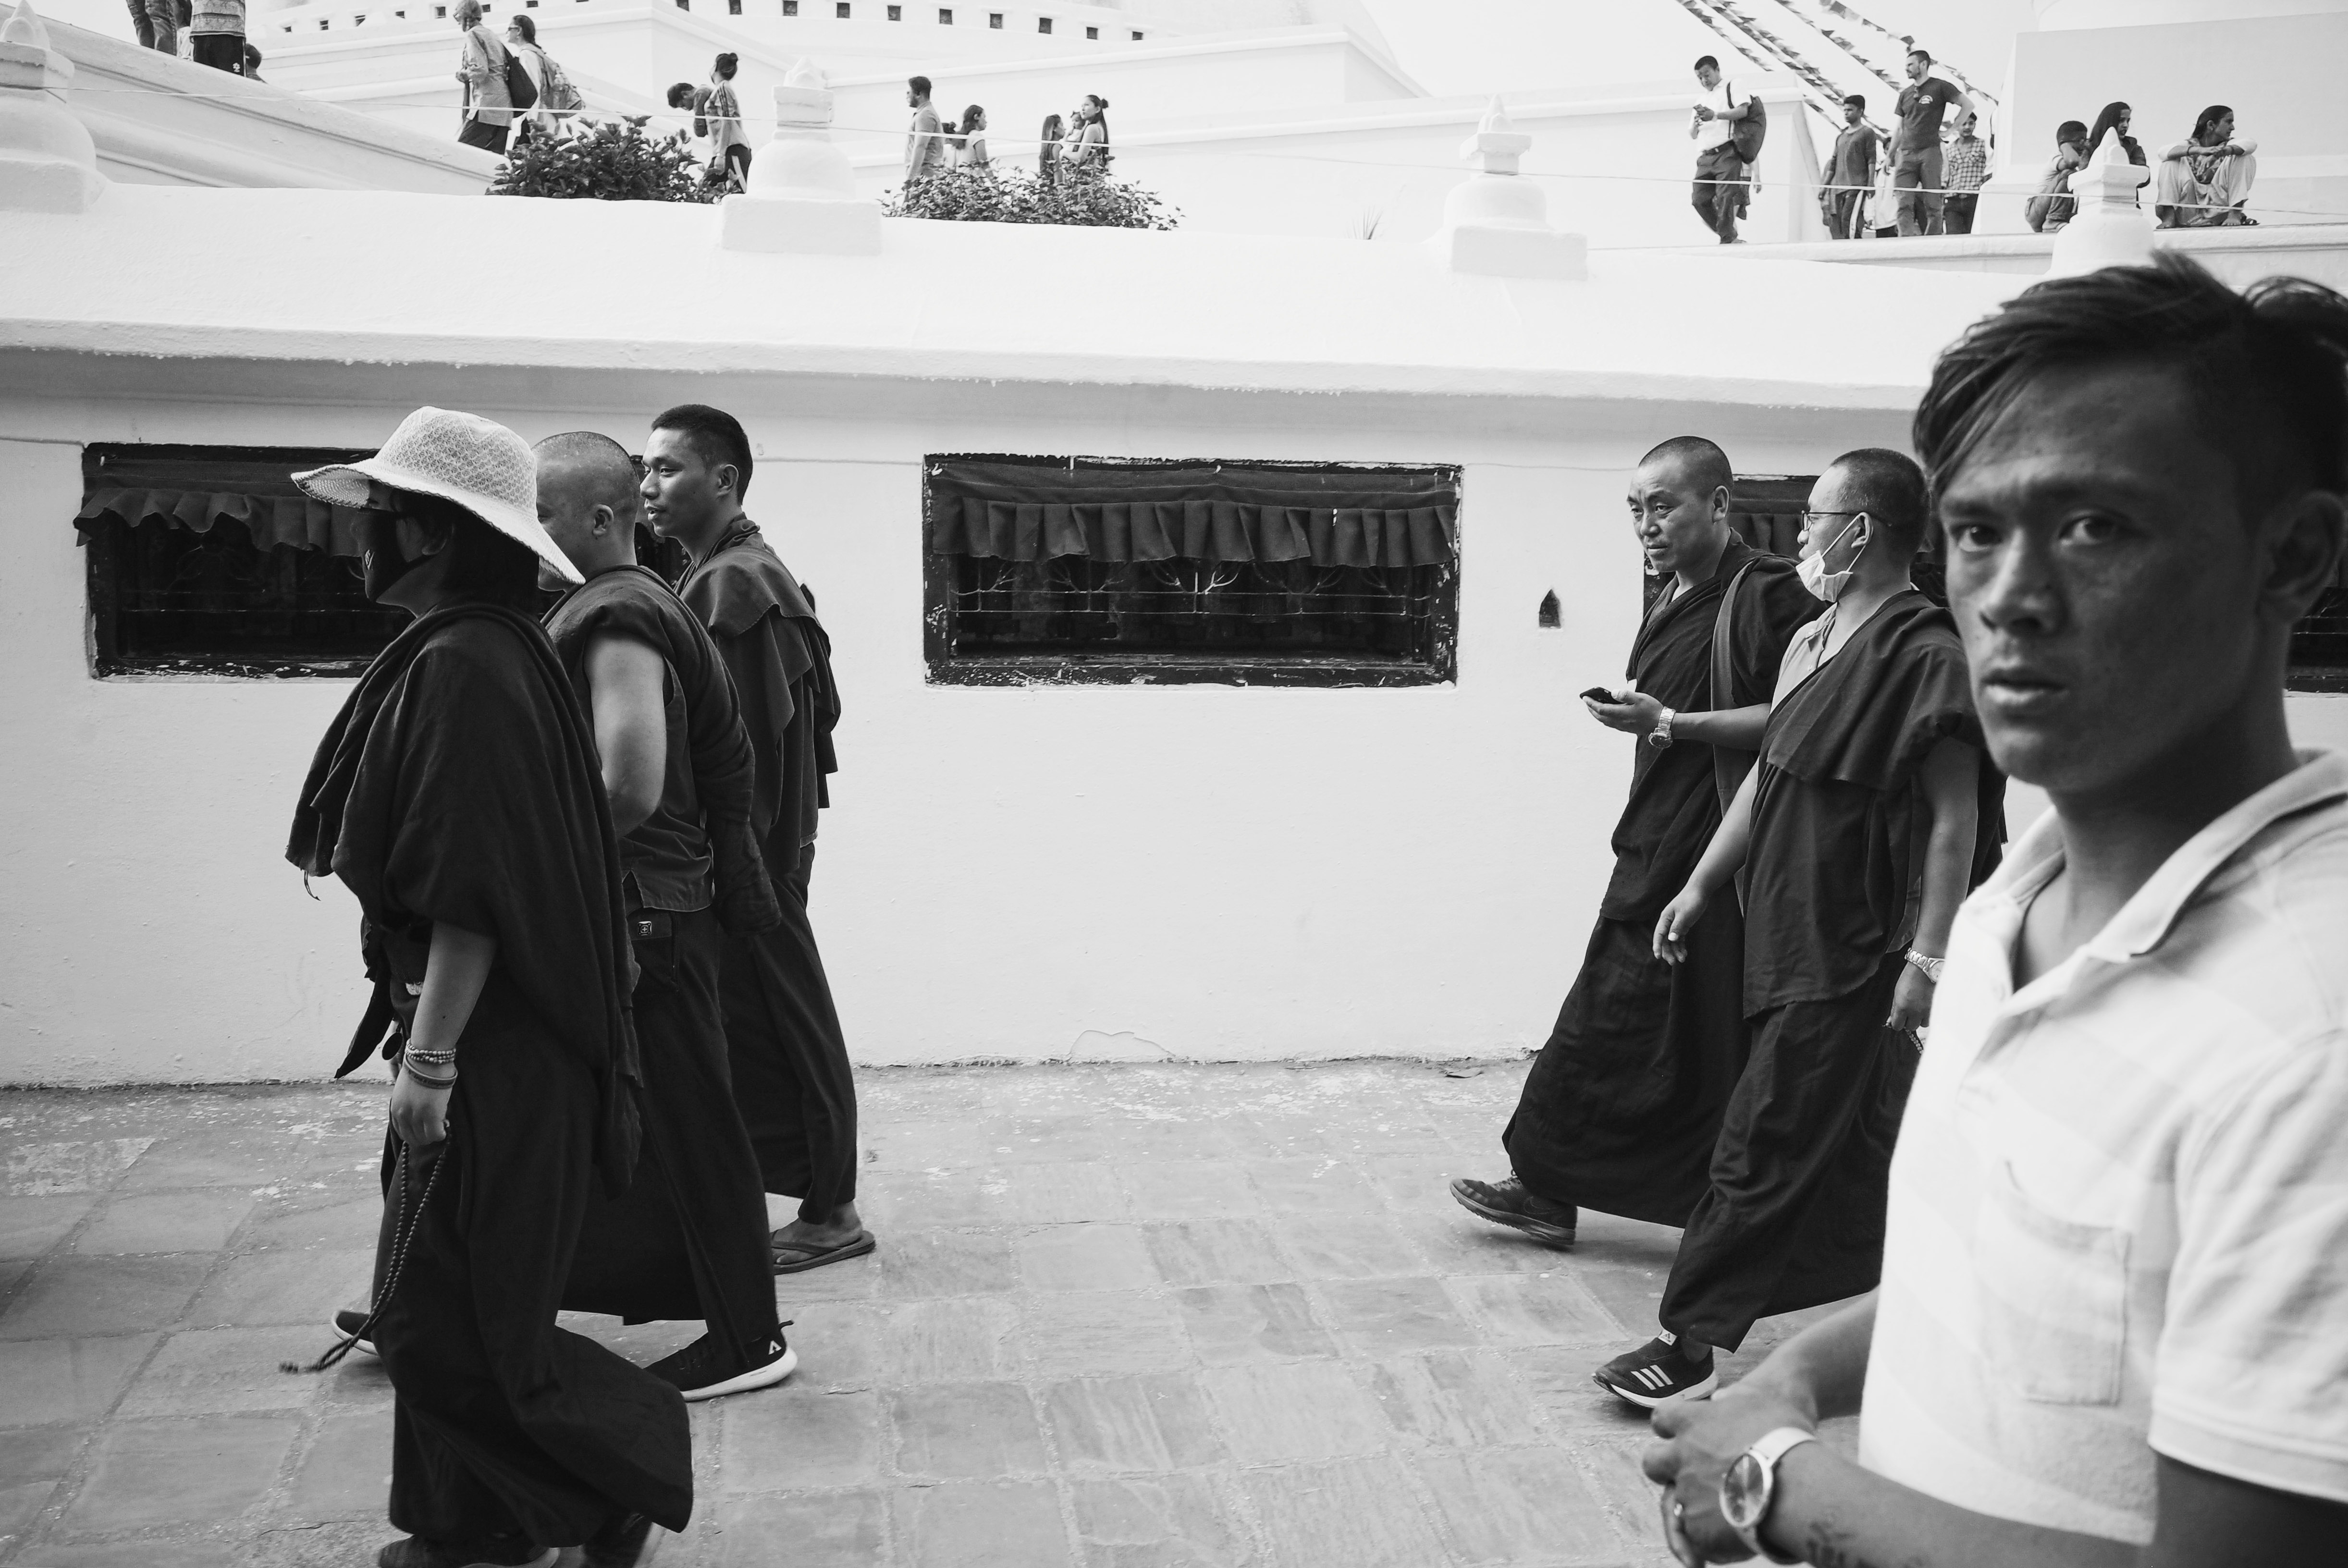
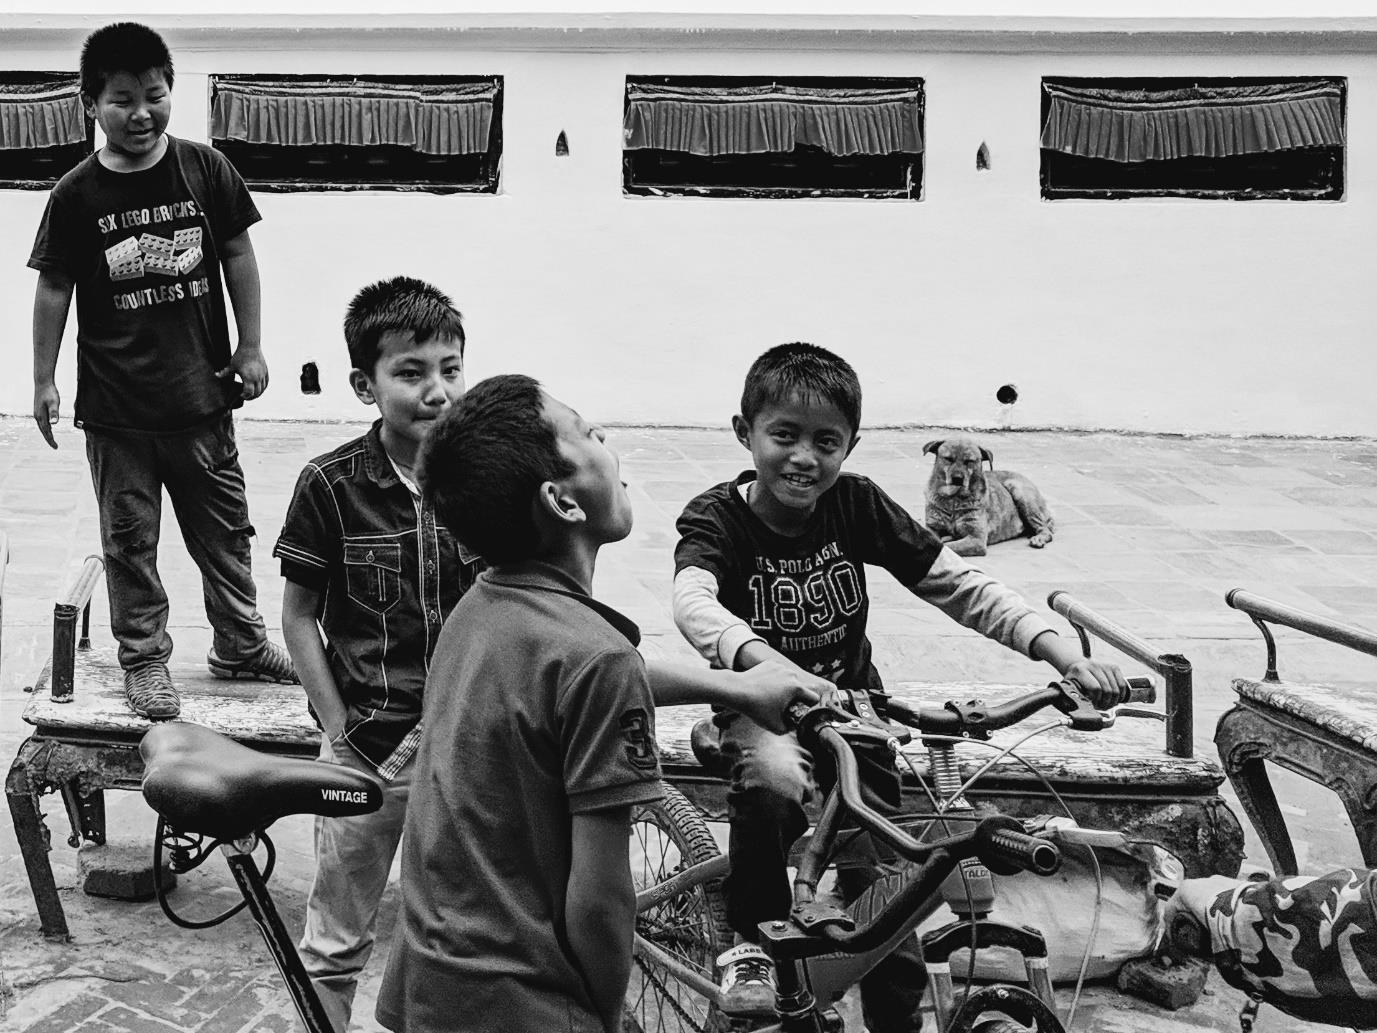
I flew into Kathmandu, Nepal from Kuala Lumpur, Malaysia via MH170 on the eve of my birthday and spent the day itself eating overpriced Momos in front of the UNESCO World Heritage Bouddha Stupa, while planning my next step of applying the required permits for the tour. My plan was to skip the typical tourist activities and jump straight to the bikepacking tour itself.
For navigation, I relied mostly on downloaded offline maps, a physical map, general markings along the trek, and occasional engagement with fellow trekkers and locals.
Day 1: Kathmandu, 1,400m MSL (Preparation Day)
Getting permits:
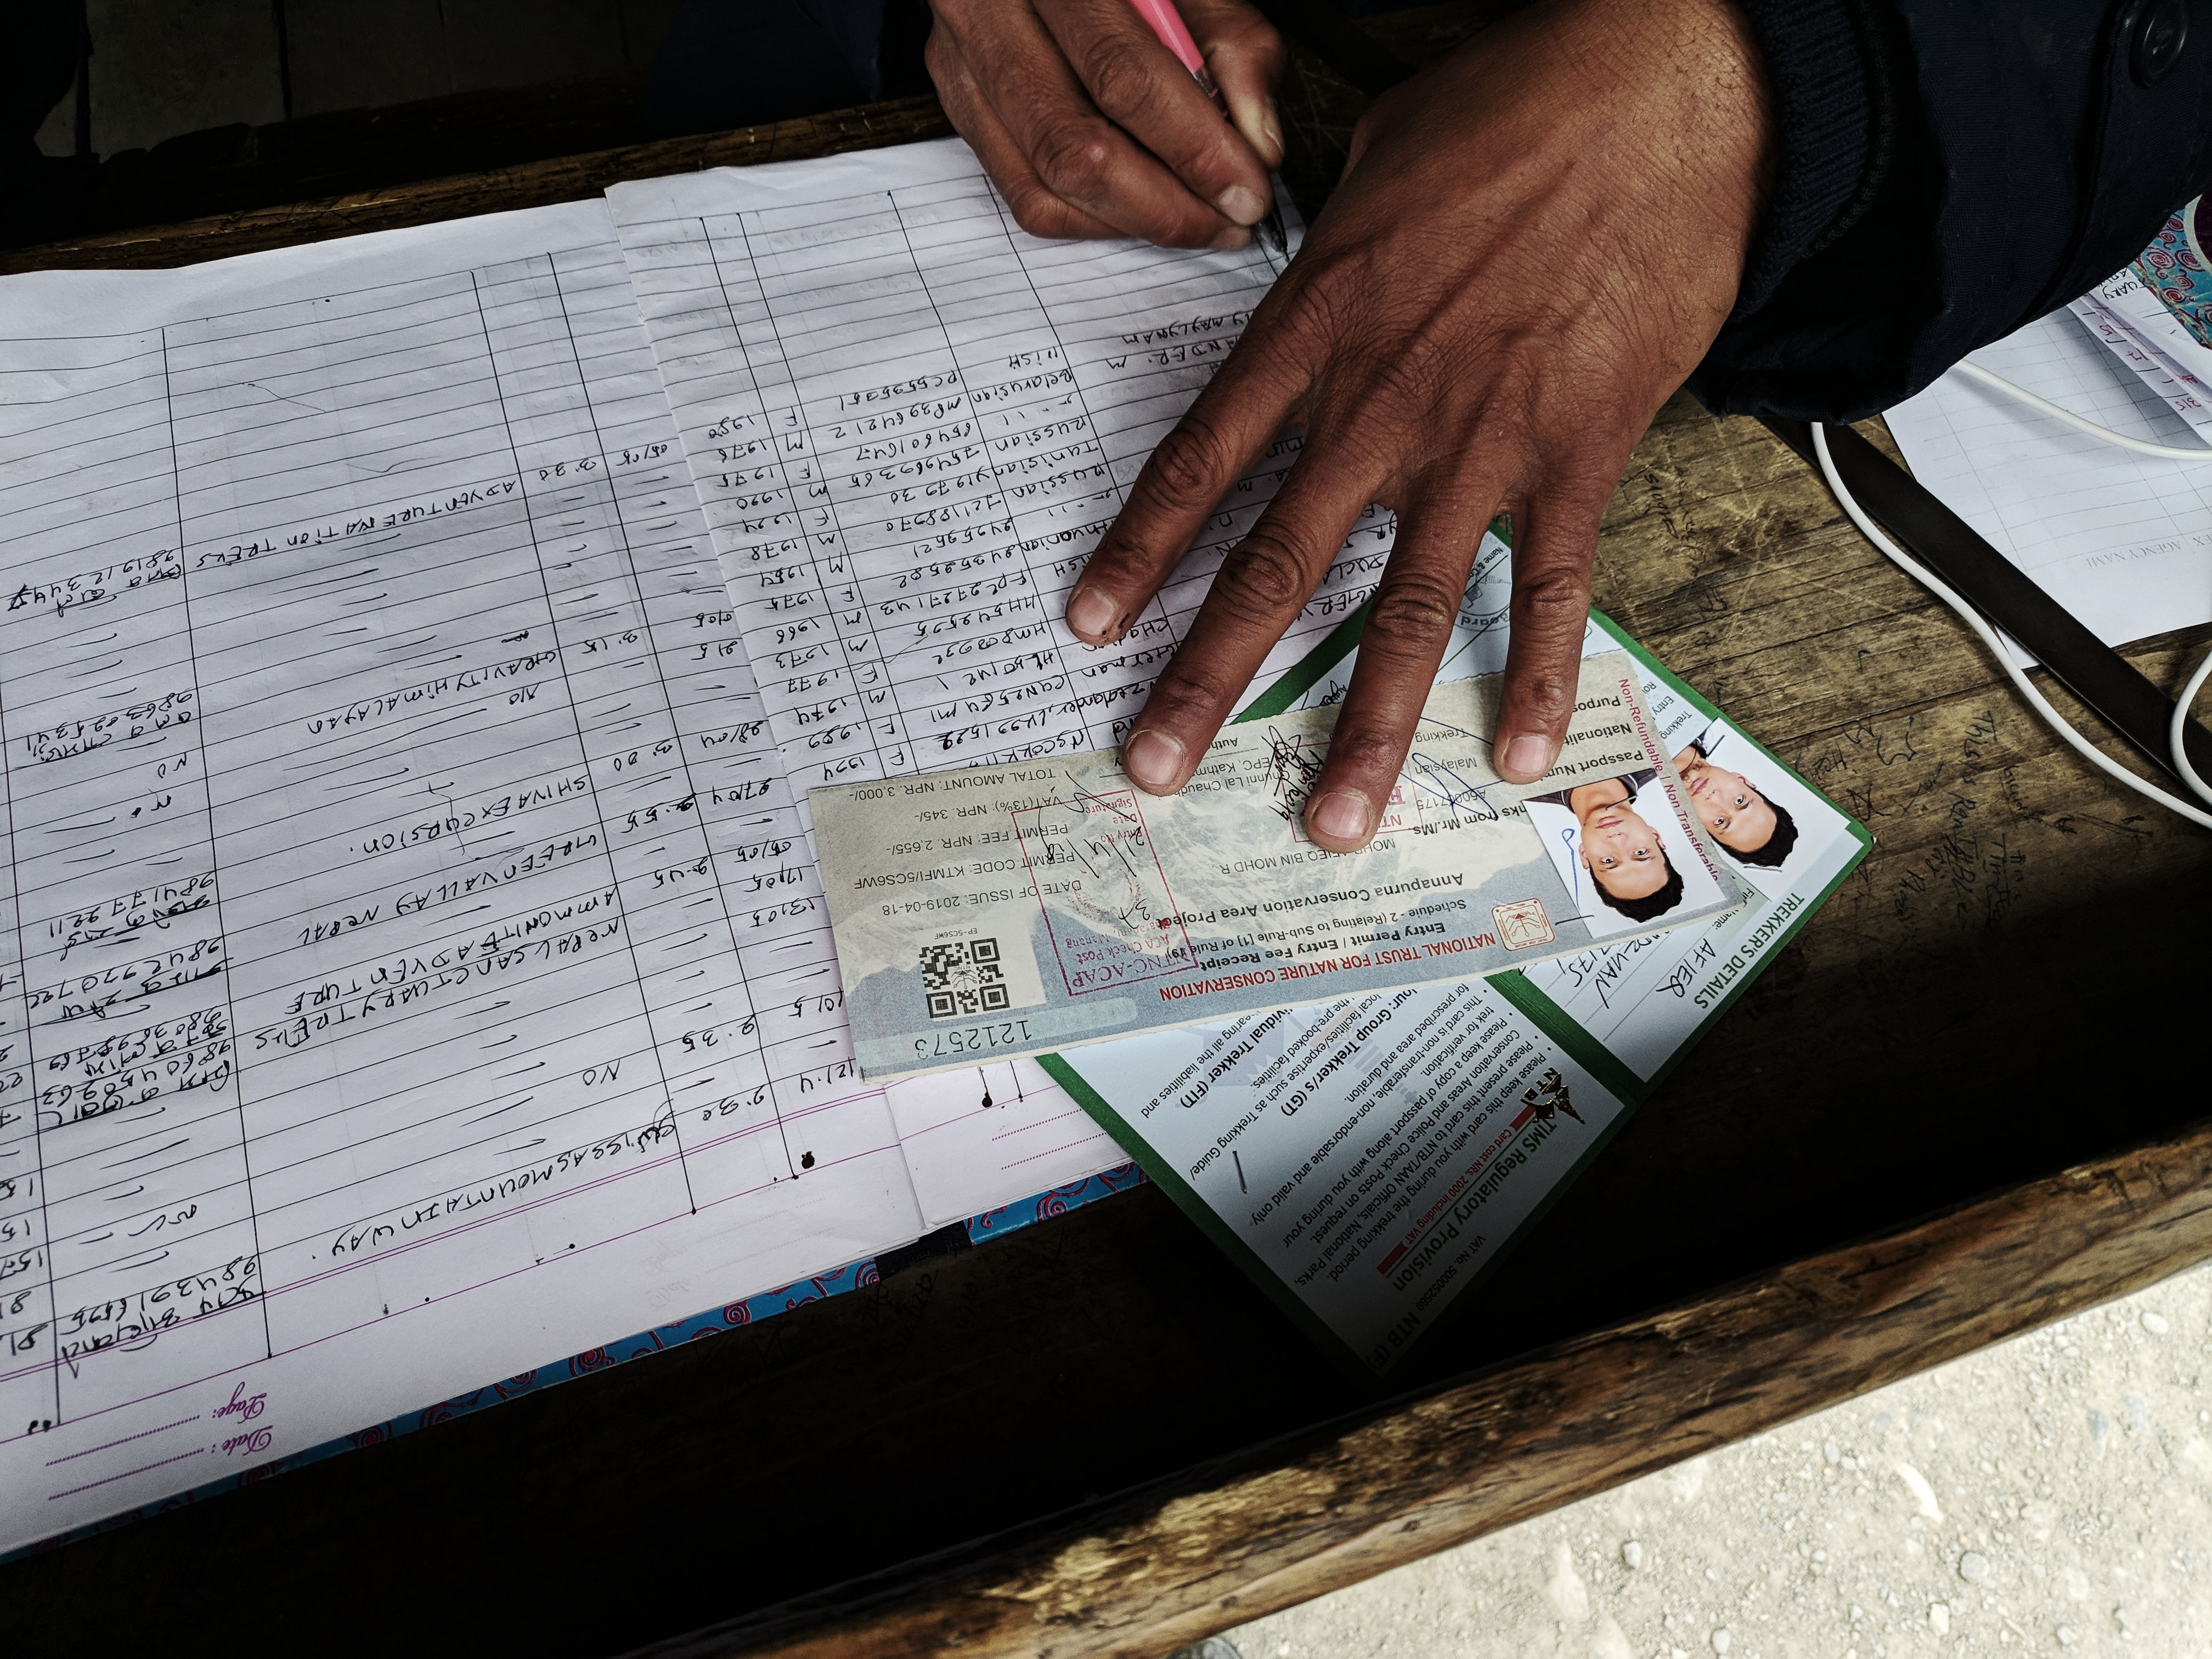
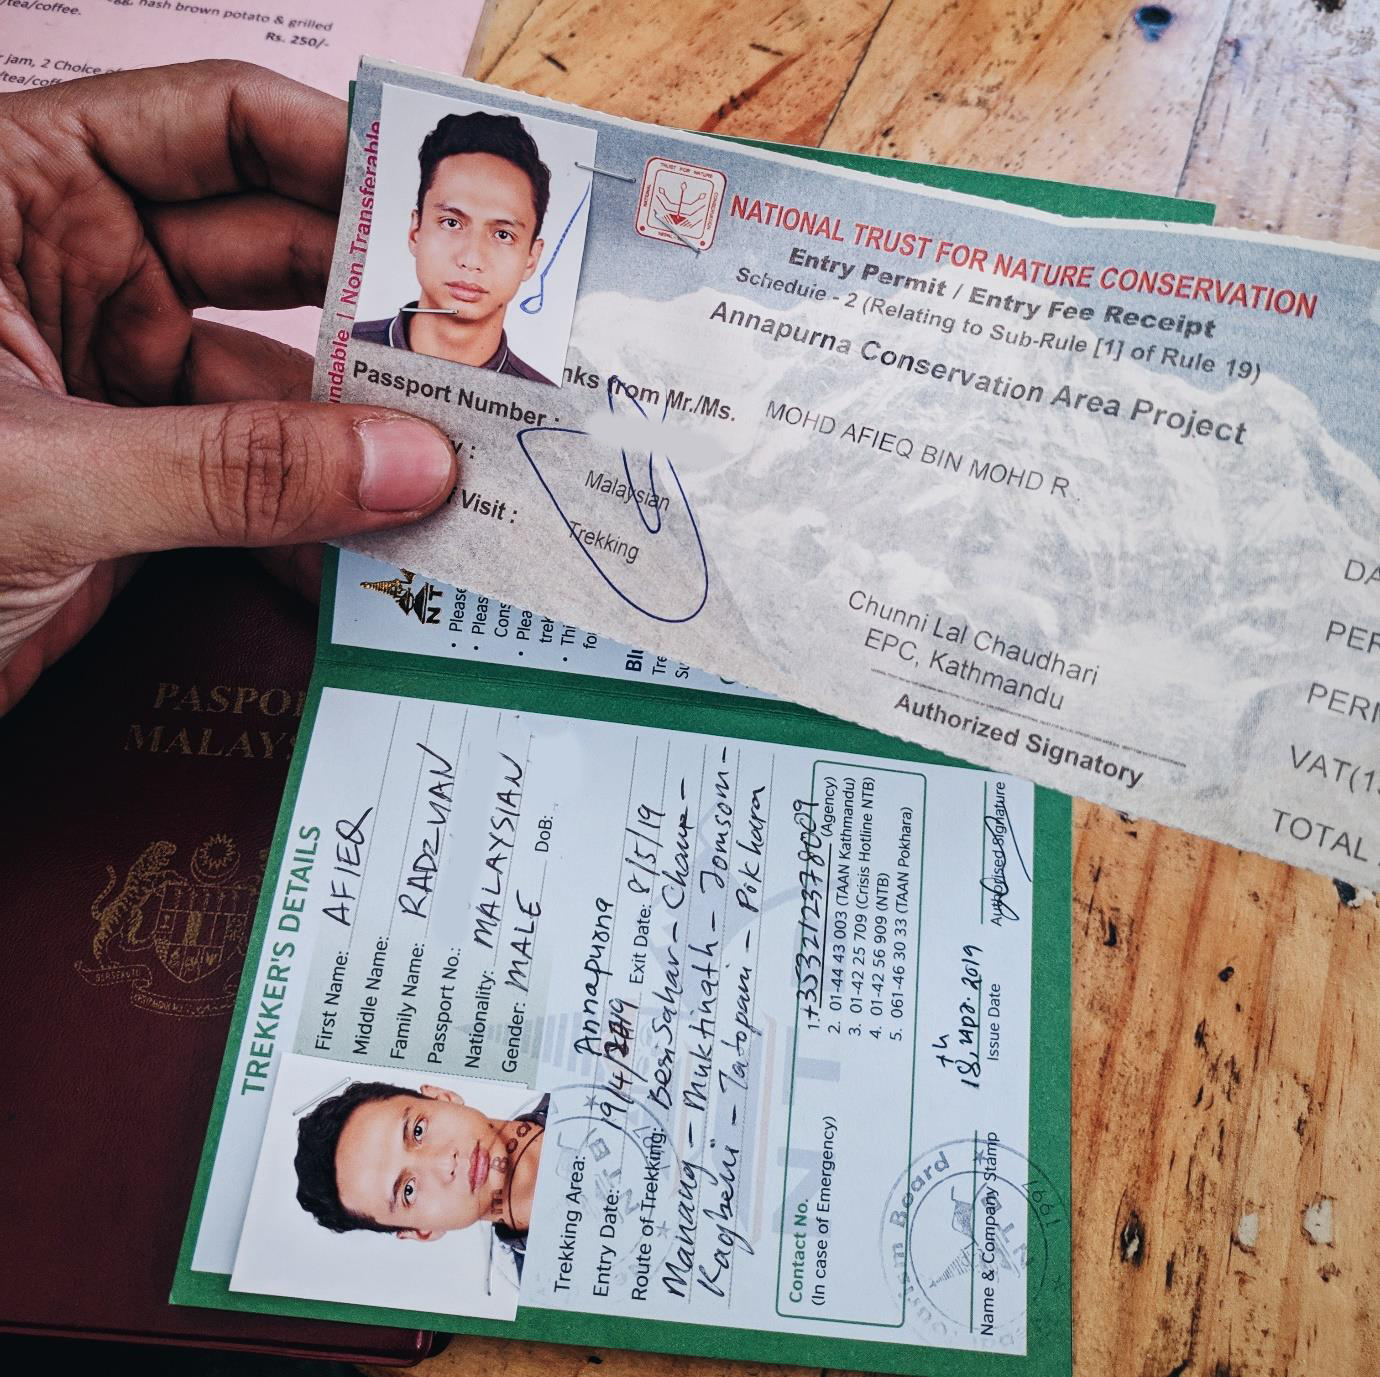
As this was an unsupported solo trip, there would be no guide and no porter, so I had to sort out everything by myself, which I found not too difficult at all. Permit application was done at the Tourism Centre, slightly off Thamel, accessible by foot or a ride through Kathmandu’s dusty and hectic traffic. The trek requires two types of permits: the Trekkers Information Management System (TIMS) and Annapurna Conservation Area Project Permit (ACAP).
TIMS is the general permit, to be coupled with specific trek permits such as the ACAP (or the Sagarmatha National Park for Everest Base Camp). There are also two types of TIMS: green for solo unsupported treks, and blue for organised tour/porter. Applicants will need to bring along their passport photos and insurance details, and fill up all the paperwork. You will get the permit endorsed upon paying fees of 20USD each.
The permit will be inspected at various checkpoints throughout the trek. Here’s a tip: upon finishing the trek at the last checkpoint, try not to decommission your TIMS as it can be used again if you decide to continue trips to other places such as the ABC or shorter Ghorepani-Poon Hill trek.
Day 2: Kathmandu (1,400m MSL) – Besisahar (800m MSL) – Bahundanda (1,310m MSL)
Departure:
Besisahar (pronounced Be-Si-Shar) is the starting point of the trek if you plan to do the circuit on a normal counterclockwise route (note: the clockwise route will have large elevation gains that can lead to AMS due to insufficient acclimatisation). You don’t want to ride on the latter as it will be through the notorious Prithvi Highway – the only highway going out with all types of vehicles cramped in one lane and your bicycle will be the last priority.
Although it is possible to ride up (180km, 2810m), you will be better off using the bus. Therefore, a carbon bike is not feasible on this kind of trip as you will be lunging the bicycle on certain vehicles. To get there by bus, head over to Gongabu Bus Park via the ring road, in front of BG Mall. Try to reach there at 6 a.m. for a smooth journey.
I started riding at 5 a.m. and arrived on time to take my pick from the many transport providers. Most of them have the same estimated time of departure (ETD) at 7 a.m. as they aim to reach Besisahar around noon. Options include the local bus for 600 NPR or microbus (read: a large van) for 800 NPR.
Either options will be challenging as local buses they will have detours along the route to pick up as many people as they can, resulting in extreme discomfort and an extra five to six hours (or more) later than the noon ETA. The microbus is normally the tourist choice but expect to be shoved to the back seat because the driver will cramp local passengers along the way to maximise profits as well. You will arrive at noon though, as they don’t make detours.
Note: some providers will try to ask for extra charges for the bicycle, so negotiate or walk away as there are other micro bus operators around. A small fee is fine but it shouldn’t be amount up to your ticket price. If you feel like gaining mileage and getting a cheaper rate, you can hop off at Dumre, a common stop for buses from Kathmandu and Pokhara, then ride the remaining 45km to Besisahar.
Arrival and ride:
The bus journey is tough and very uncomfortable. With a short stop for a toilet break and snack – I got the cheap and filling Chaana, consisting of chickpea and onion – and at normal traffic rate with no accidents or landslides, you will arrive at Besisahar around noon or just over 1 p.m.
I paid the agreed amount to the driver, didn’t bother to have lunch, then set up my bike and started my journey. I skipped the main Besisahar ACA checkpoint as the queue was long with all the incoming trekkers, went through big rocks where my cargo net snapped, did the field repair, and stamped my entry at Simpani ACA checkpoint instead.

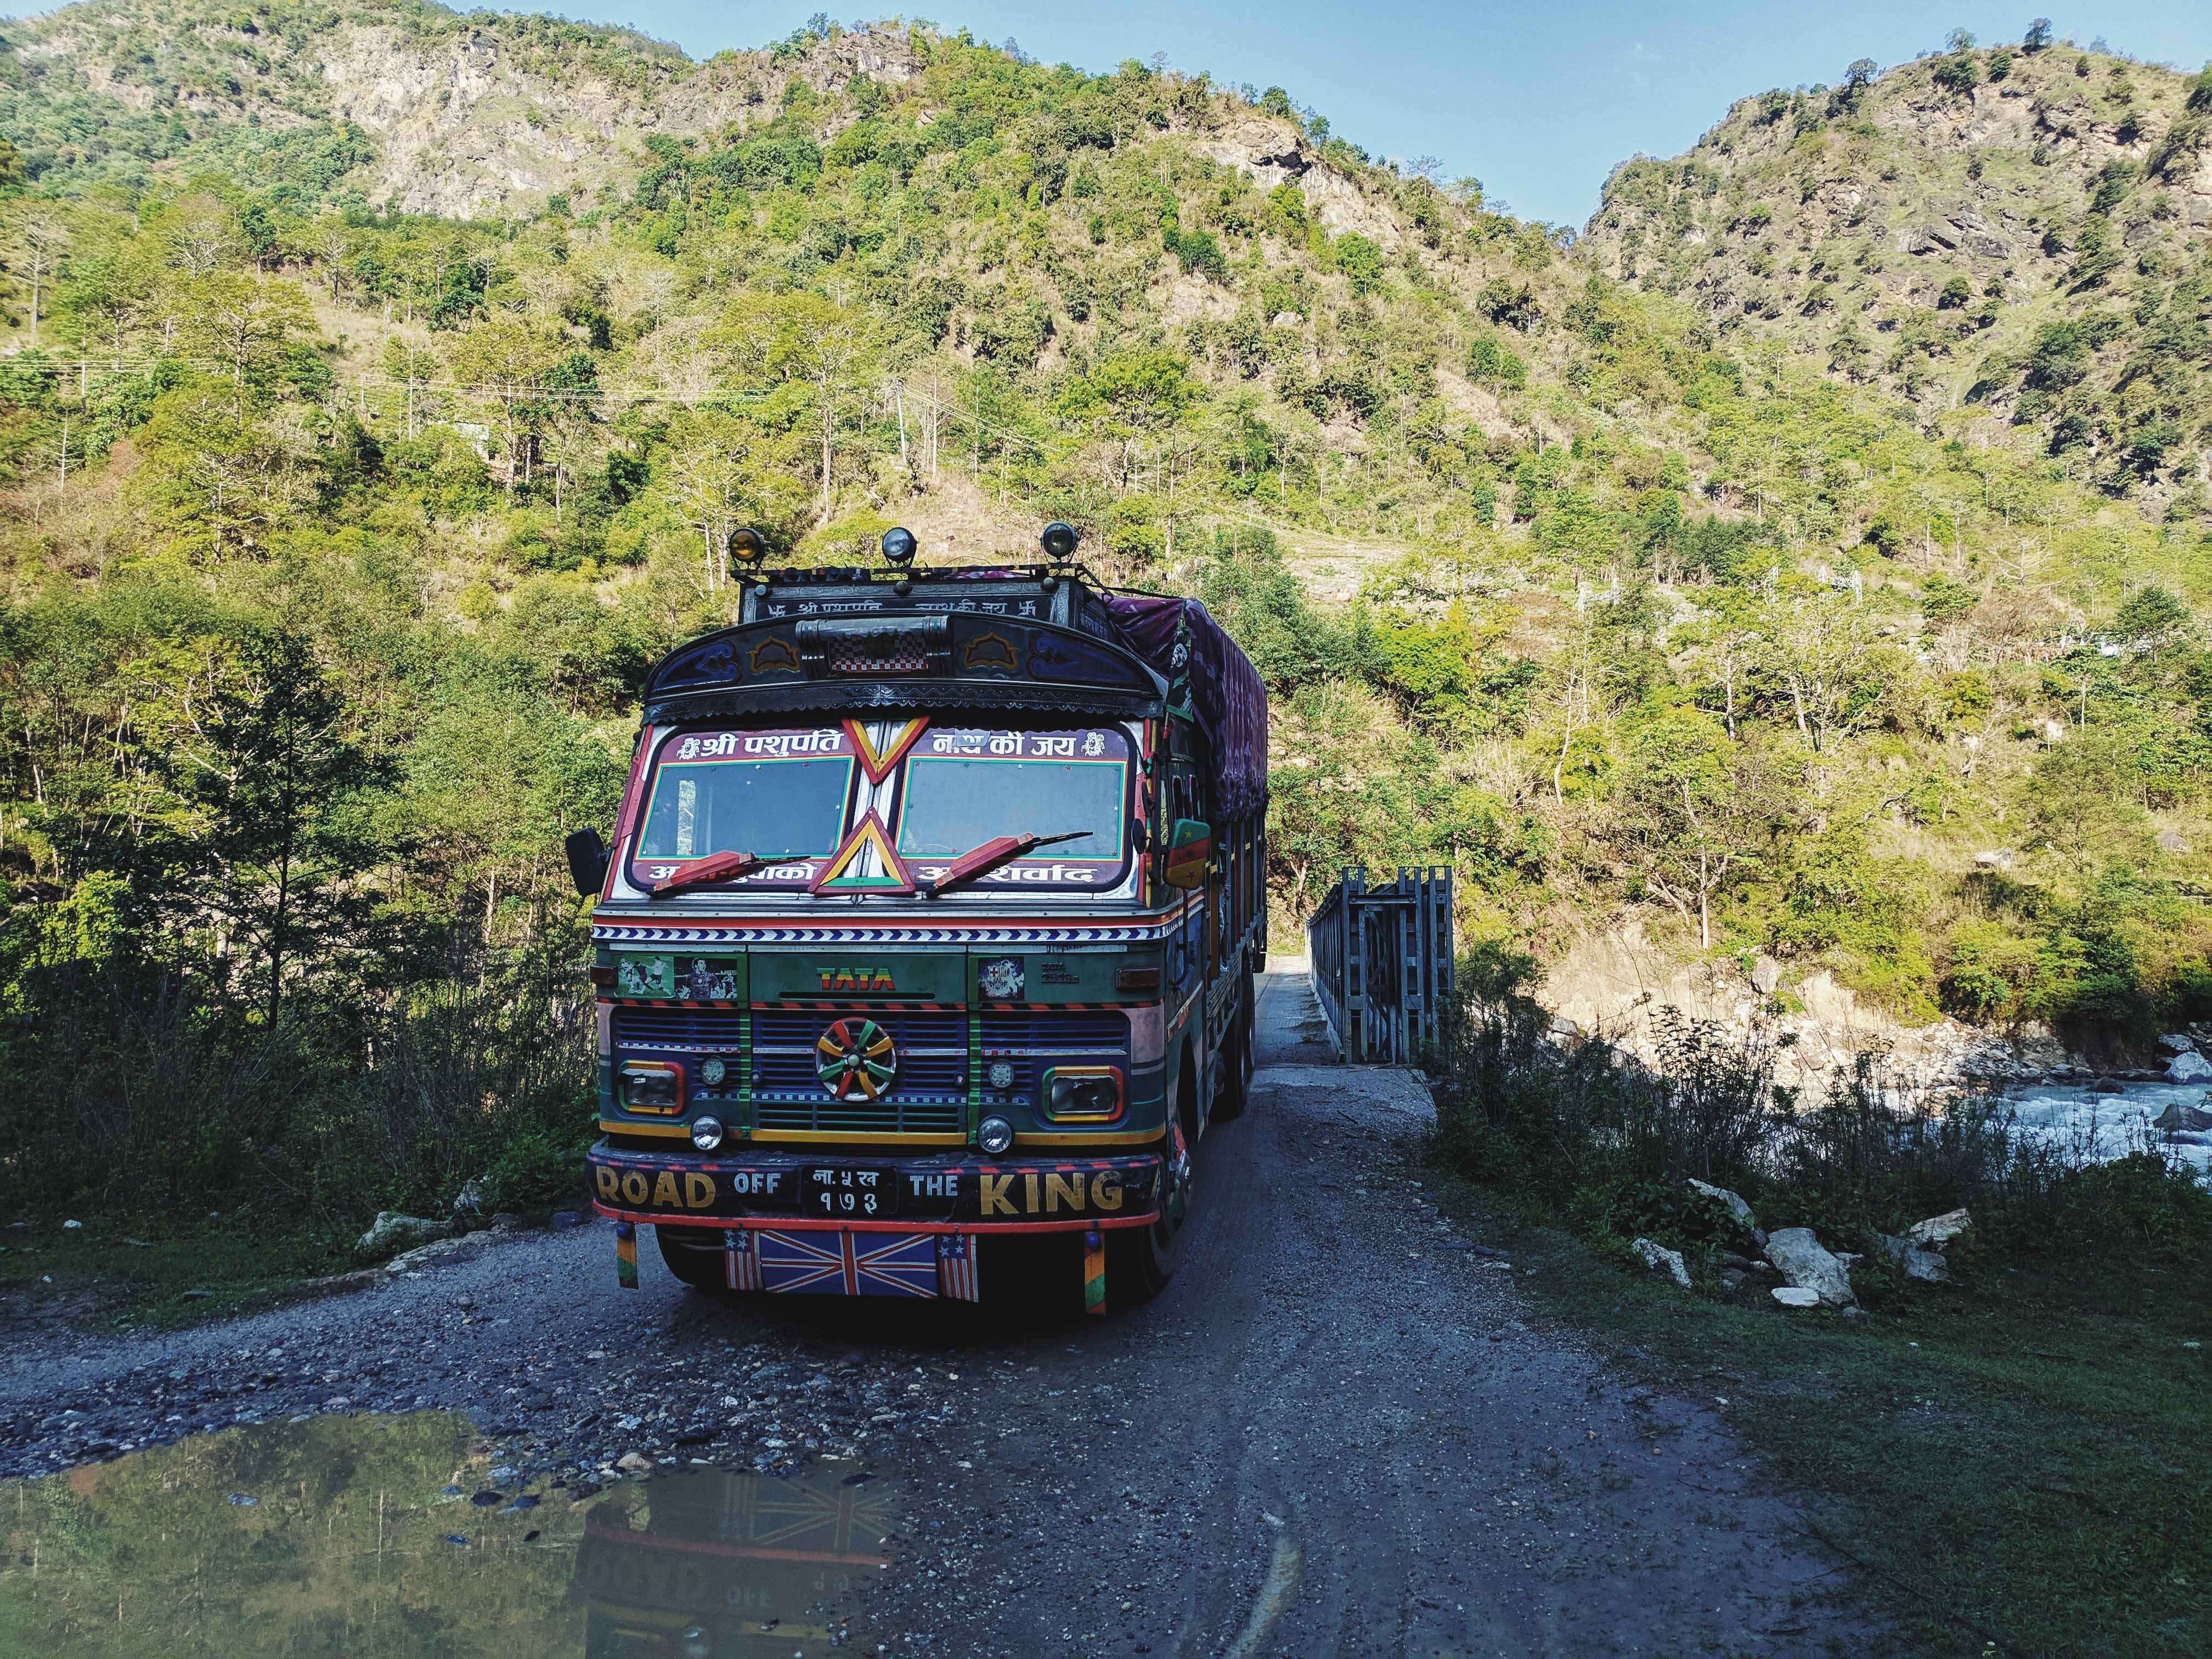
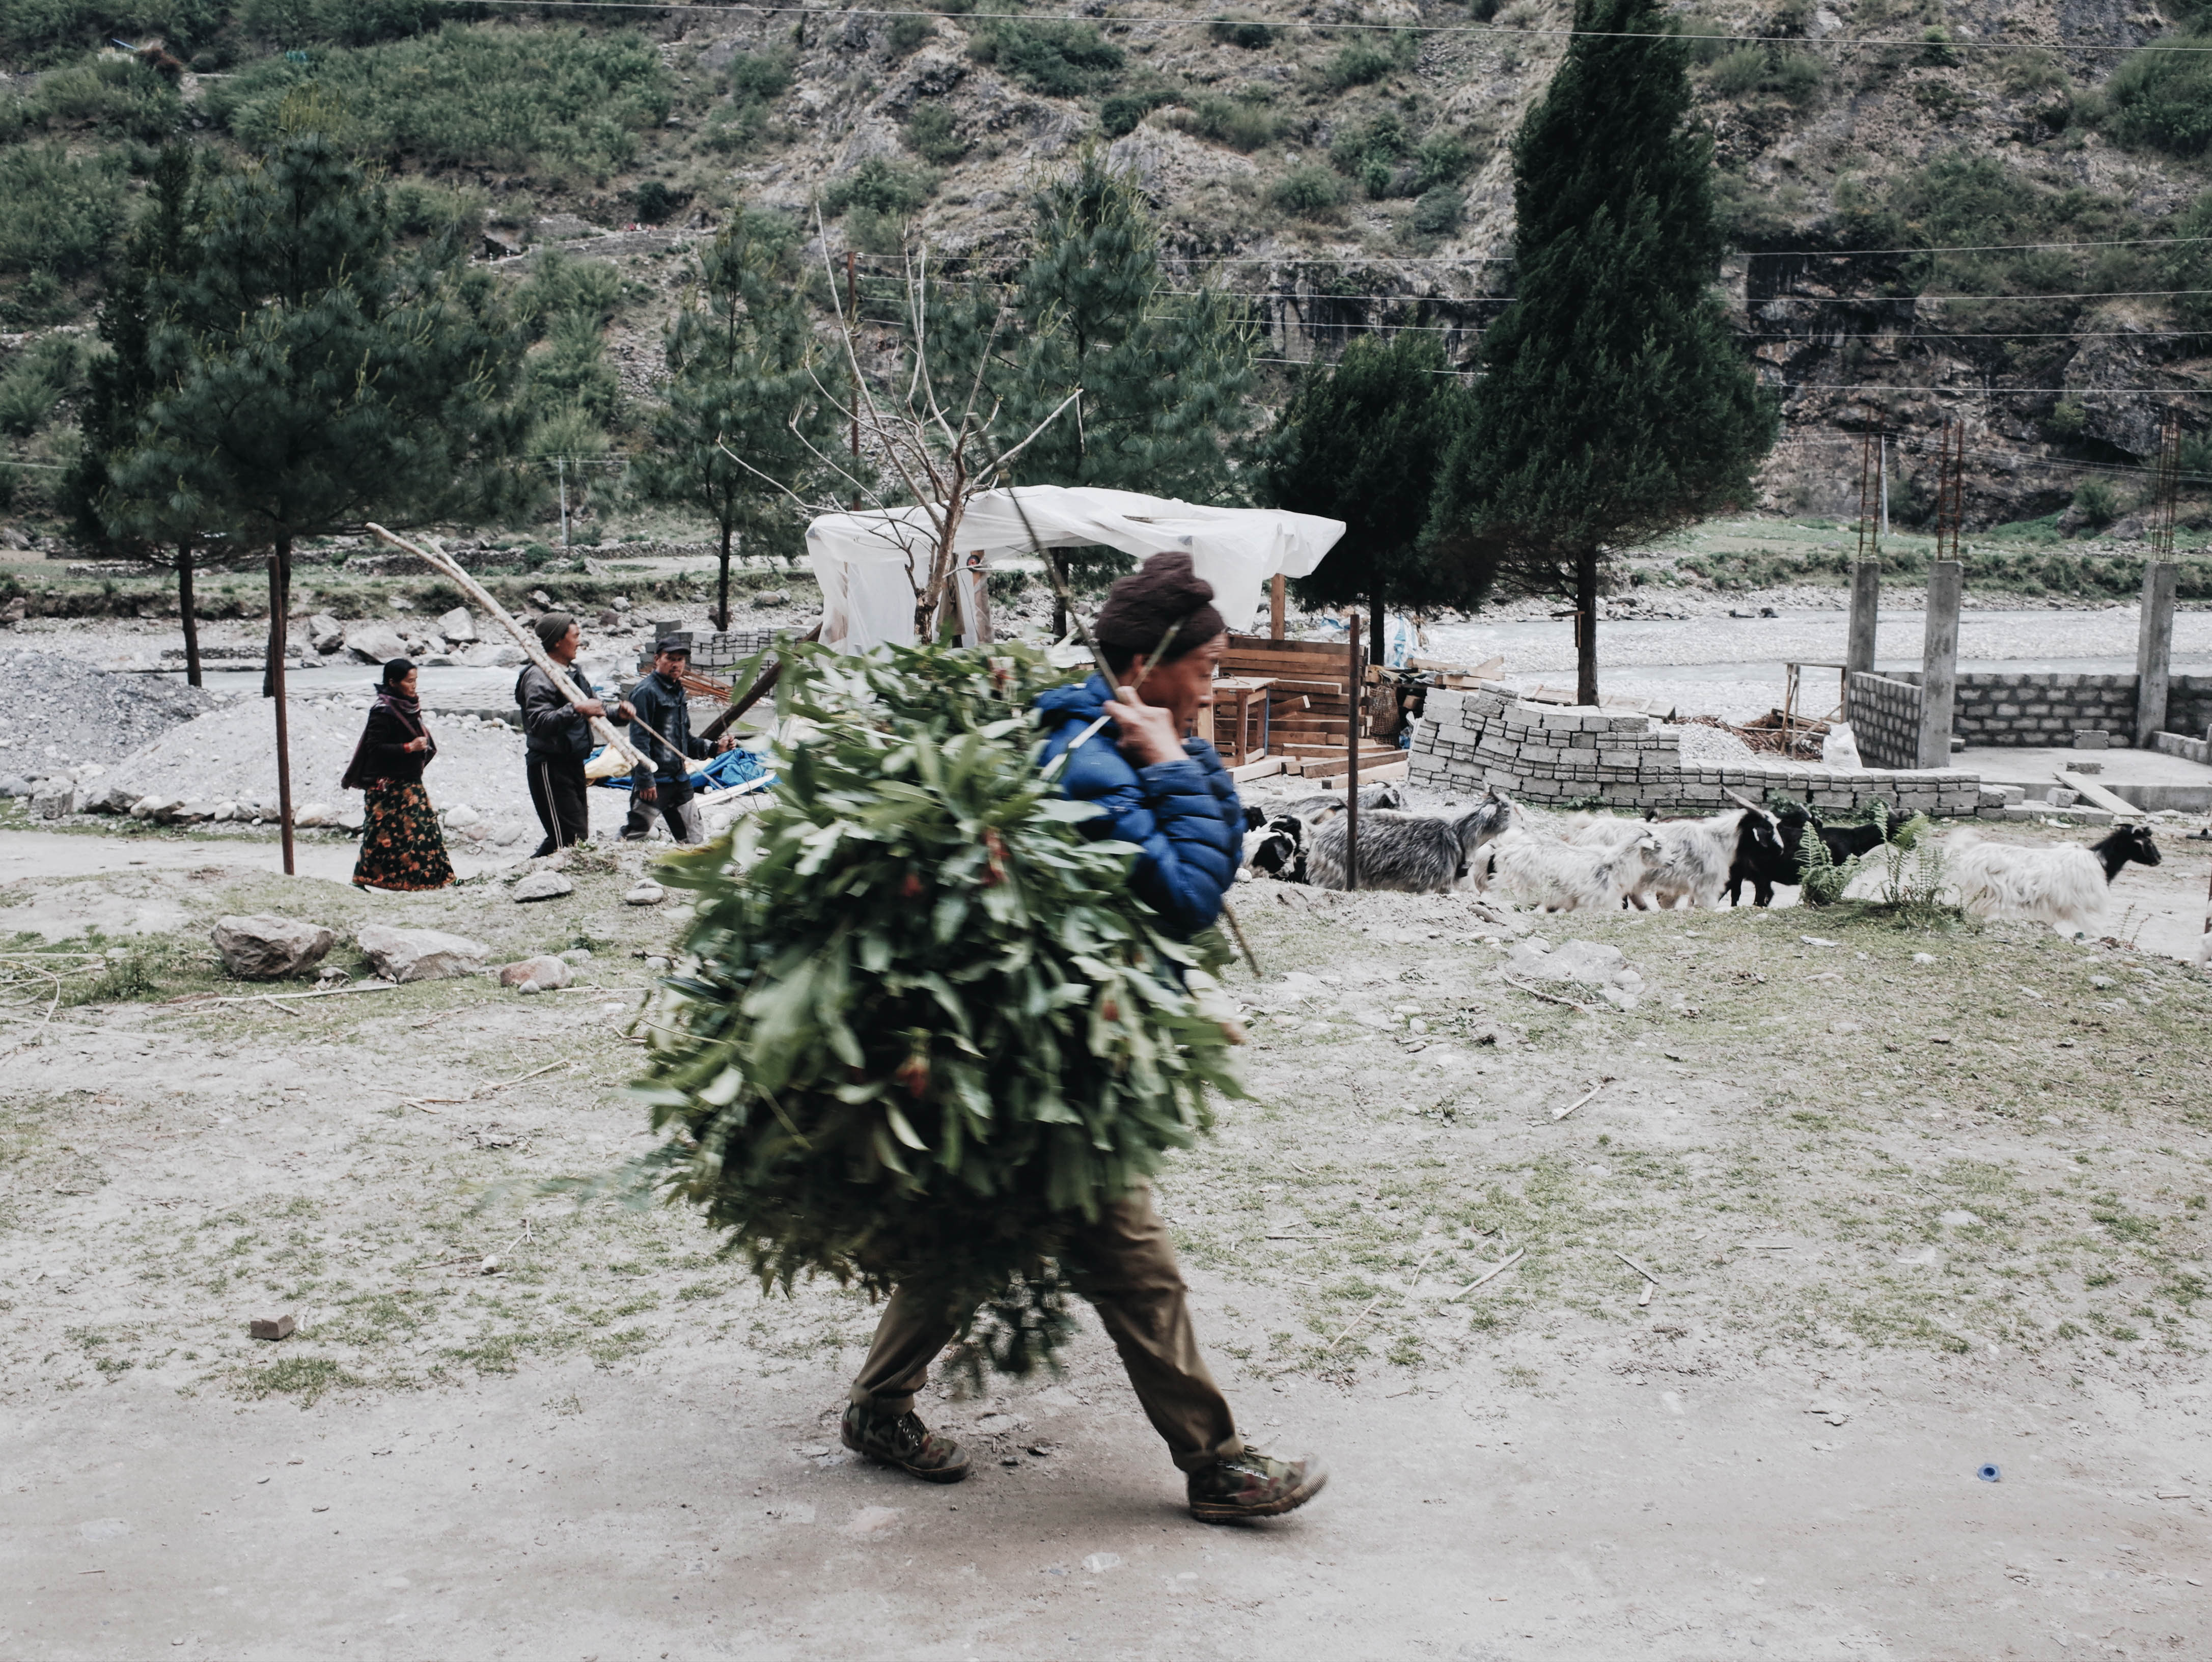
The traffic was shared between jeeps and trucks until Bhulbule where it gradually subsided. I experienced a small hailstorm before continuing to Ngadi for a quick Snickers break at one of the guesthouses. The owner shared with me his disappointment of not having many guests nowadays as most trekkers opt for a jeep ride, completely bypassing the area to Tal village, or even further up to Manang to save time.
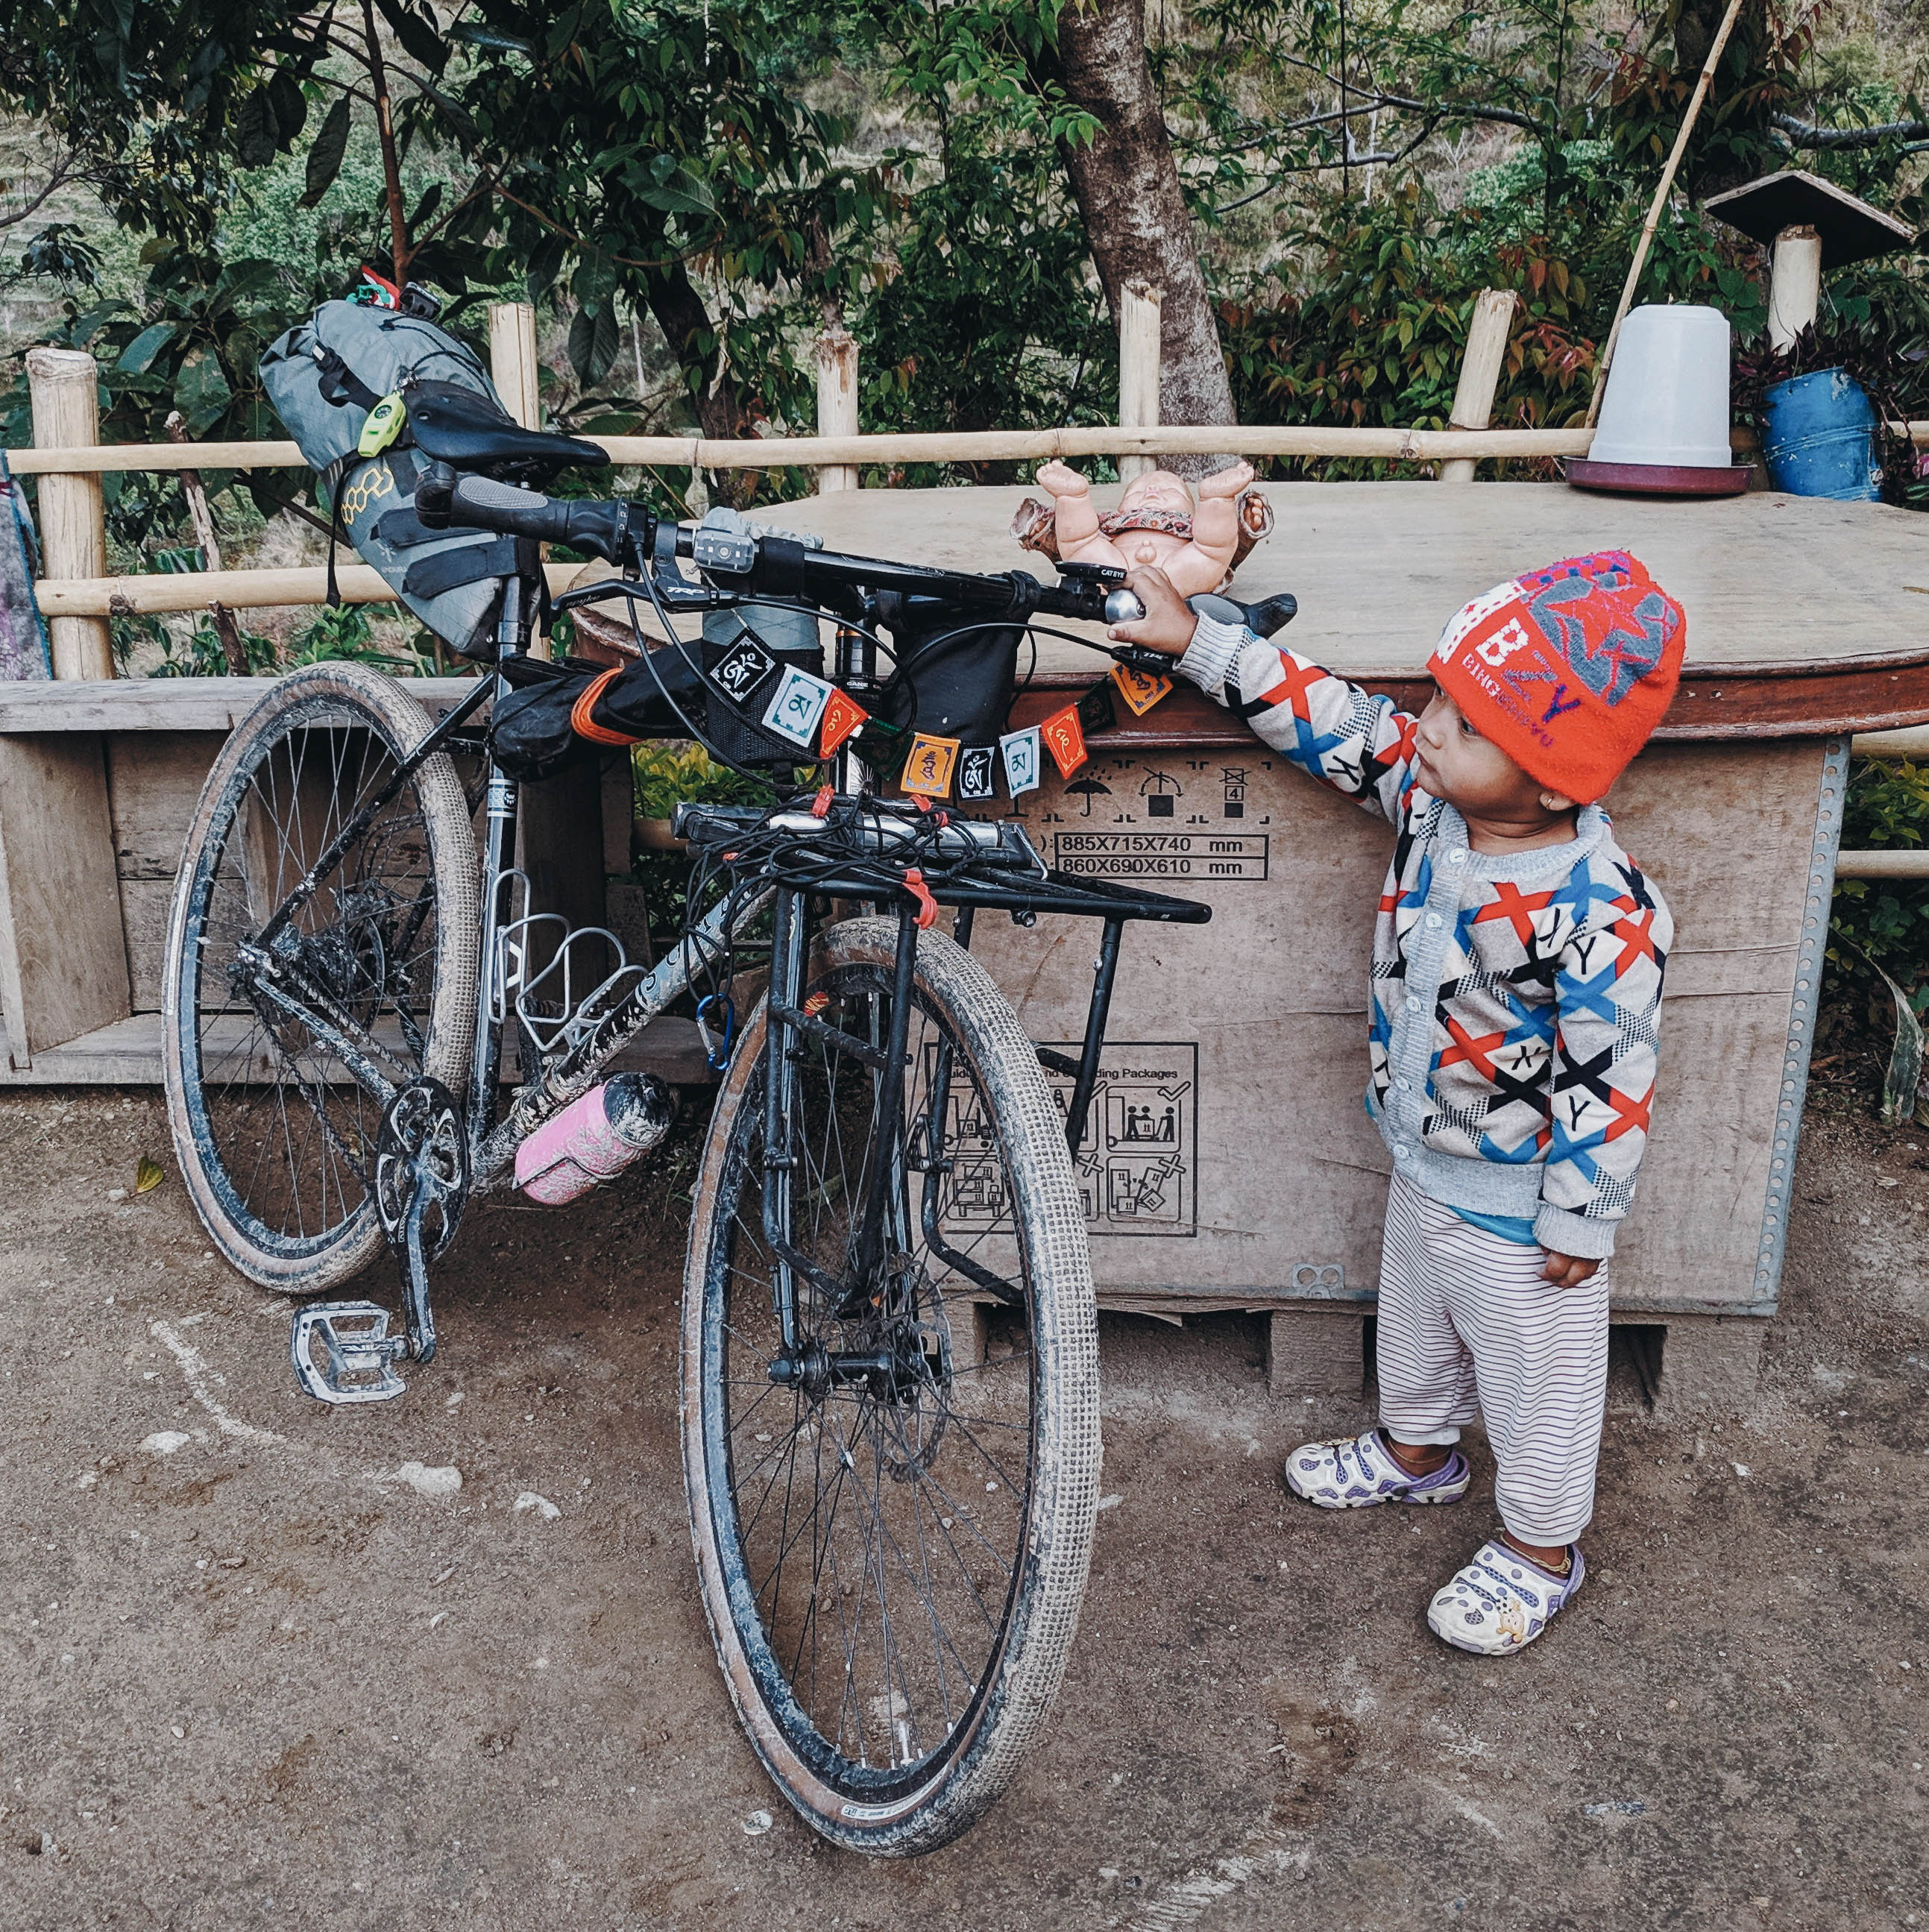
I then continued my ride and diverted to the trekkers route where I started noticing that the trail was more technical for a bicycle until I reached a small colourful guesthouse called Wanderlust, approaching Bahundanda. The operator, a fellow Malaysian, came and called out to me. Apparently, he used to work at an ice factory near Muar, Johor (a southern state in Malaysia) and noticed the small flag hanging from my Apidura saddle bag. I was offered a free room and only needed to pay for dinner and breakfast, so I agreed to stay there as it was already approaching 5 p.m.
Given the early ride to the bus station and bad microbus travel, I took the opportunity to chill and walked through the village before ending the day with a humble dinner, excited for the second day of riding.
Day 3: Bahundanda (1,310 m MSL) to Tal (1,700 m MSL)
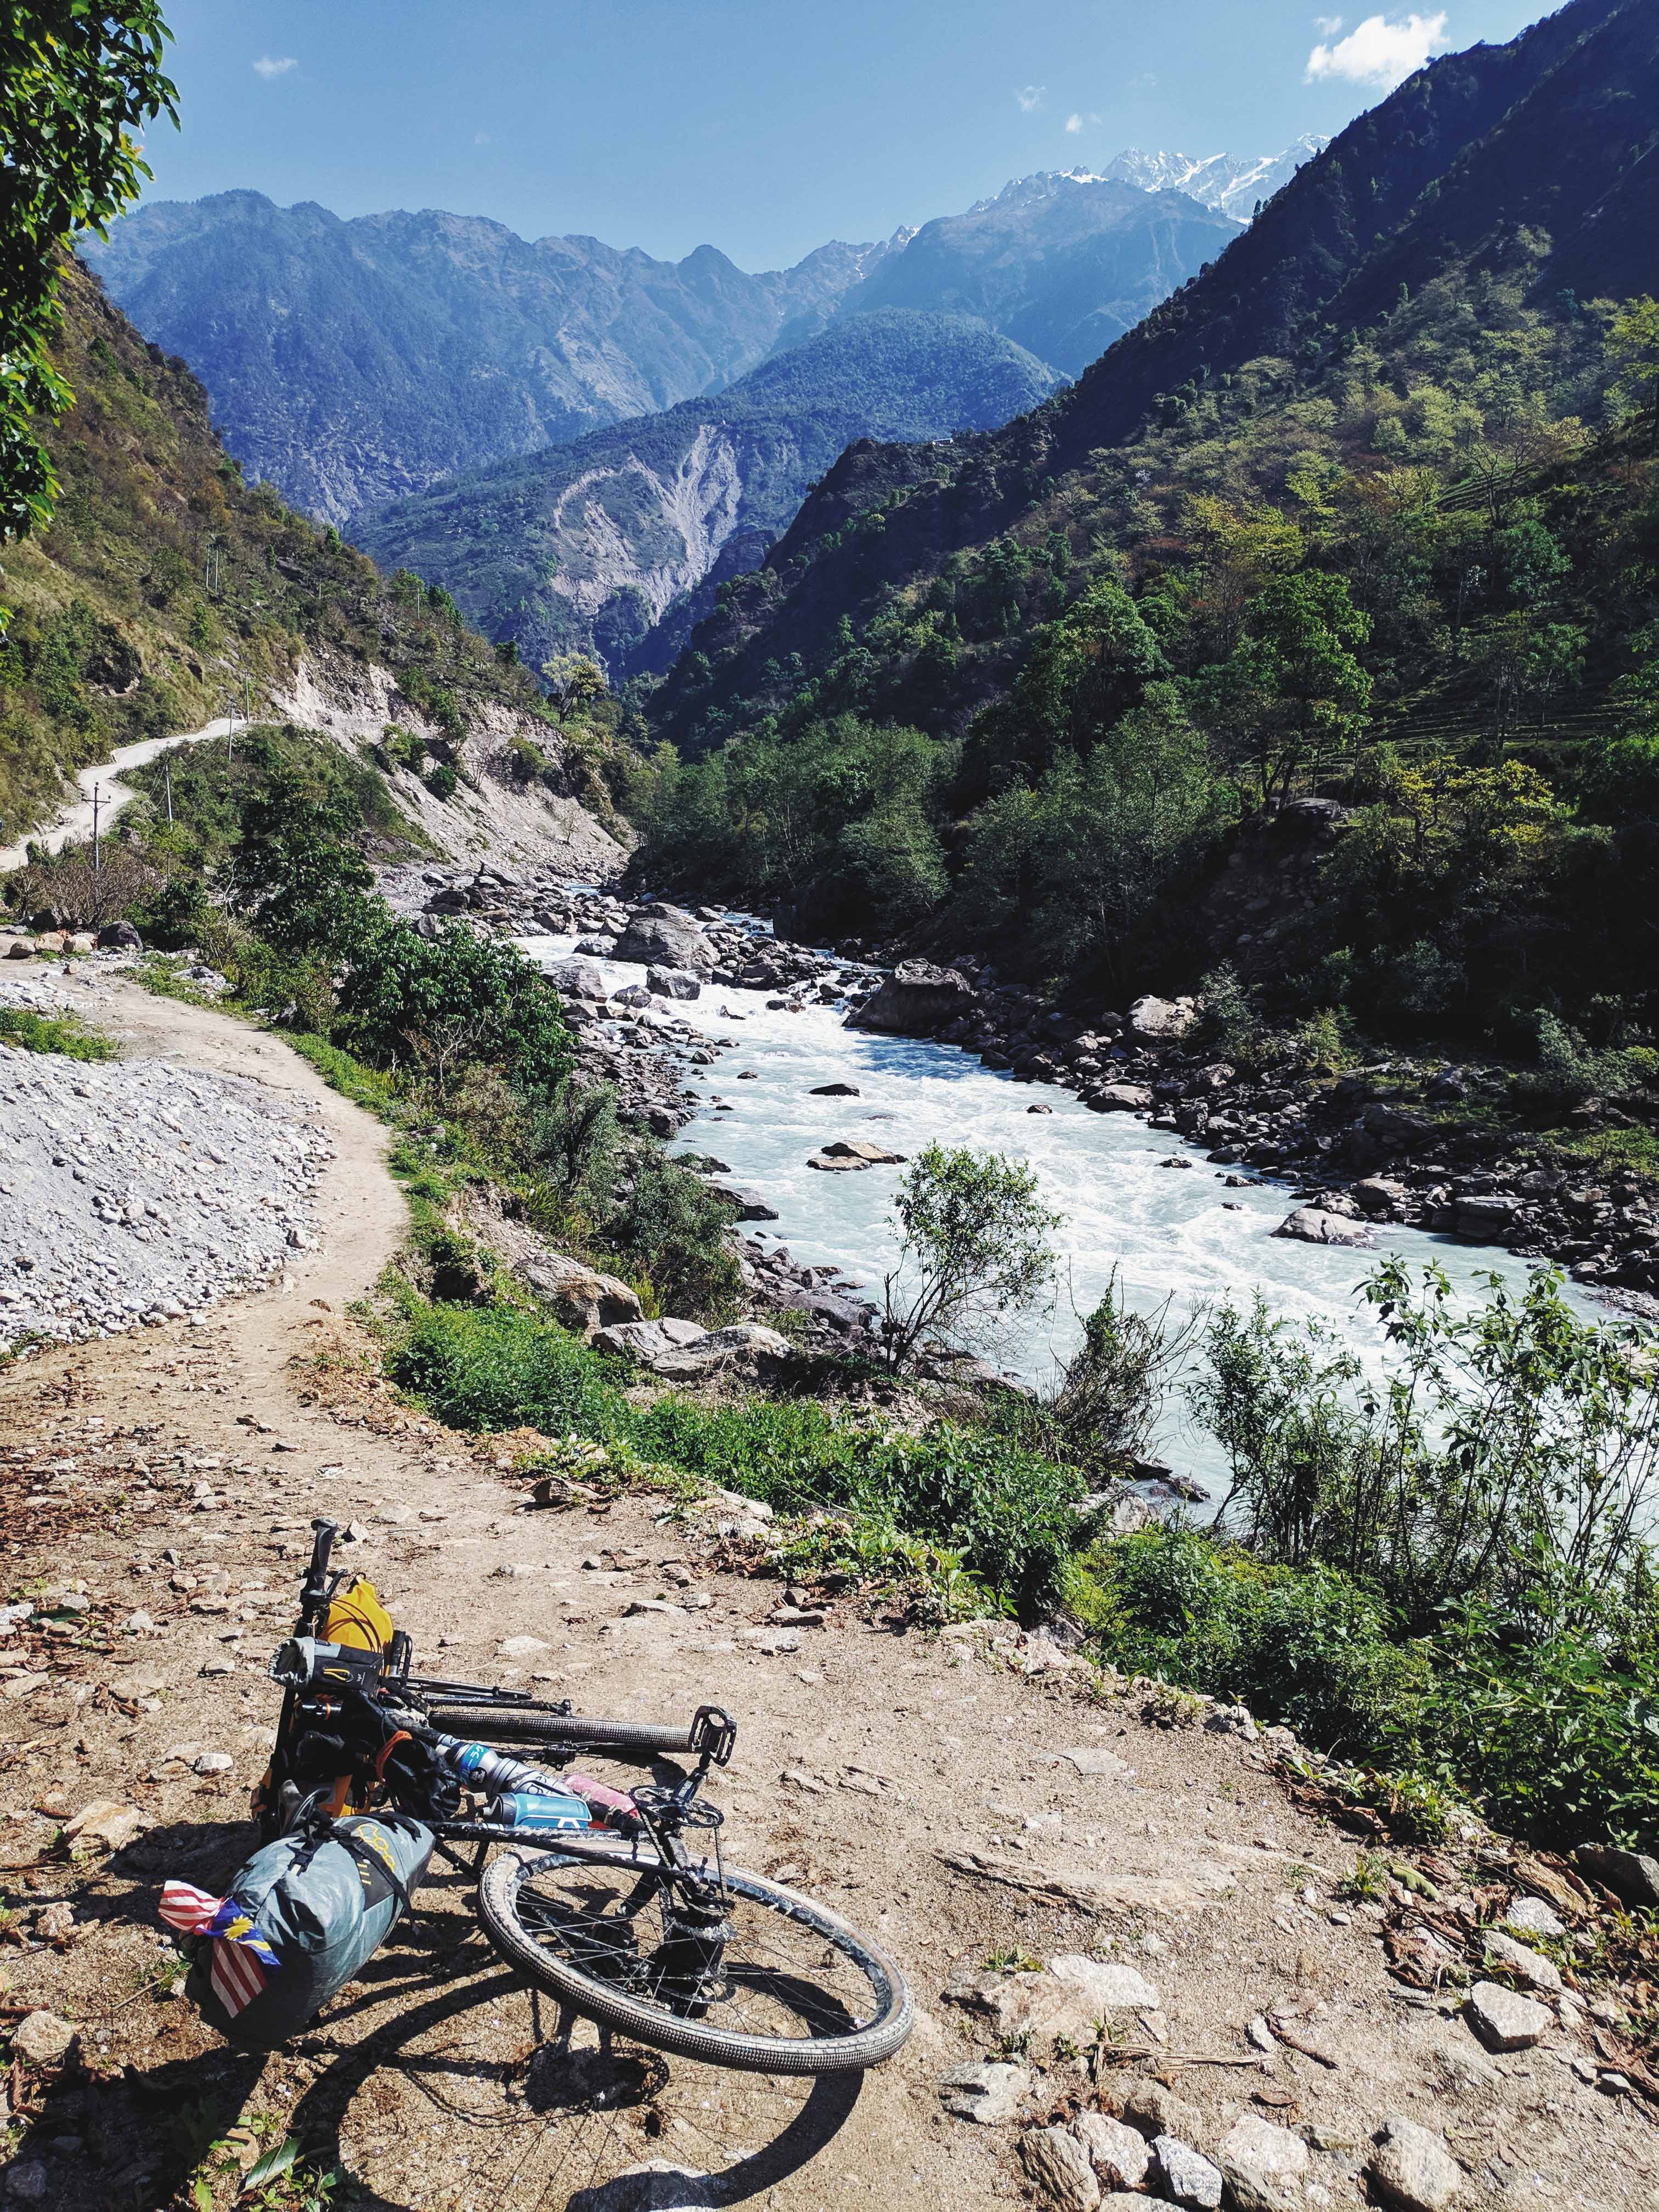
I headed off after having breakfast and saying goodbye to the bhai and his boy, choosing the ‘proper’ road instead of the trekking trail. The route had a small descent at Ghermu to 1,100m MSL before a continuous gradual elevation gain through small villages, and then open road, which was parallel and sometimes crosses the Marsyangdi river.
Throughout the trek, the main route is distinguished by red-white marking, while the side track had blue-white marking. You will hit some brutal double digit gradients and multiple switchbacks at the Syange to Jagat section. There will be occasional jeeps passing, ferrying people who will cheer for you as you grind upwards.
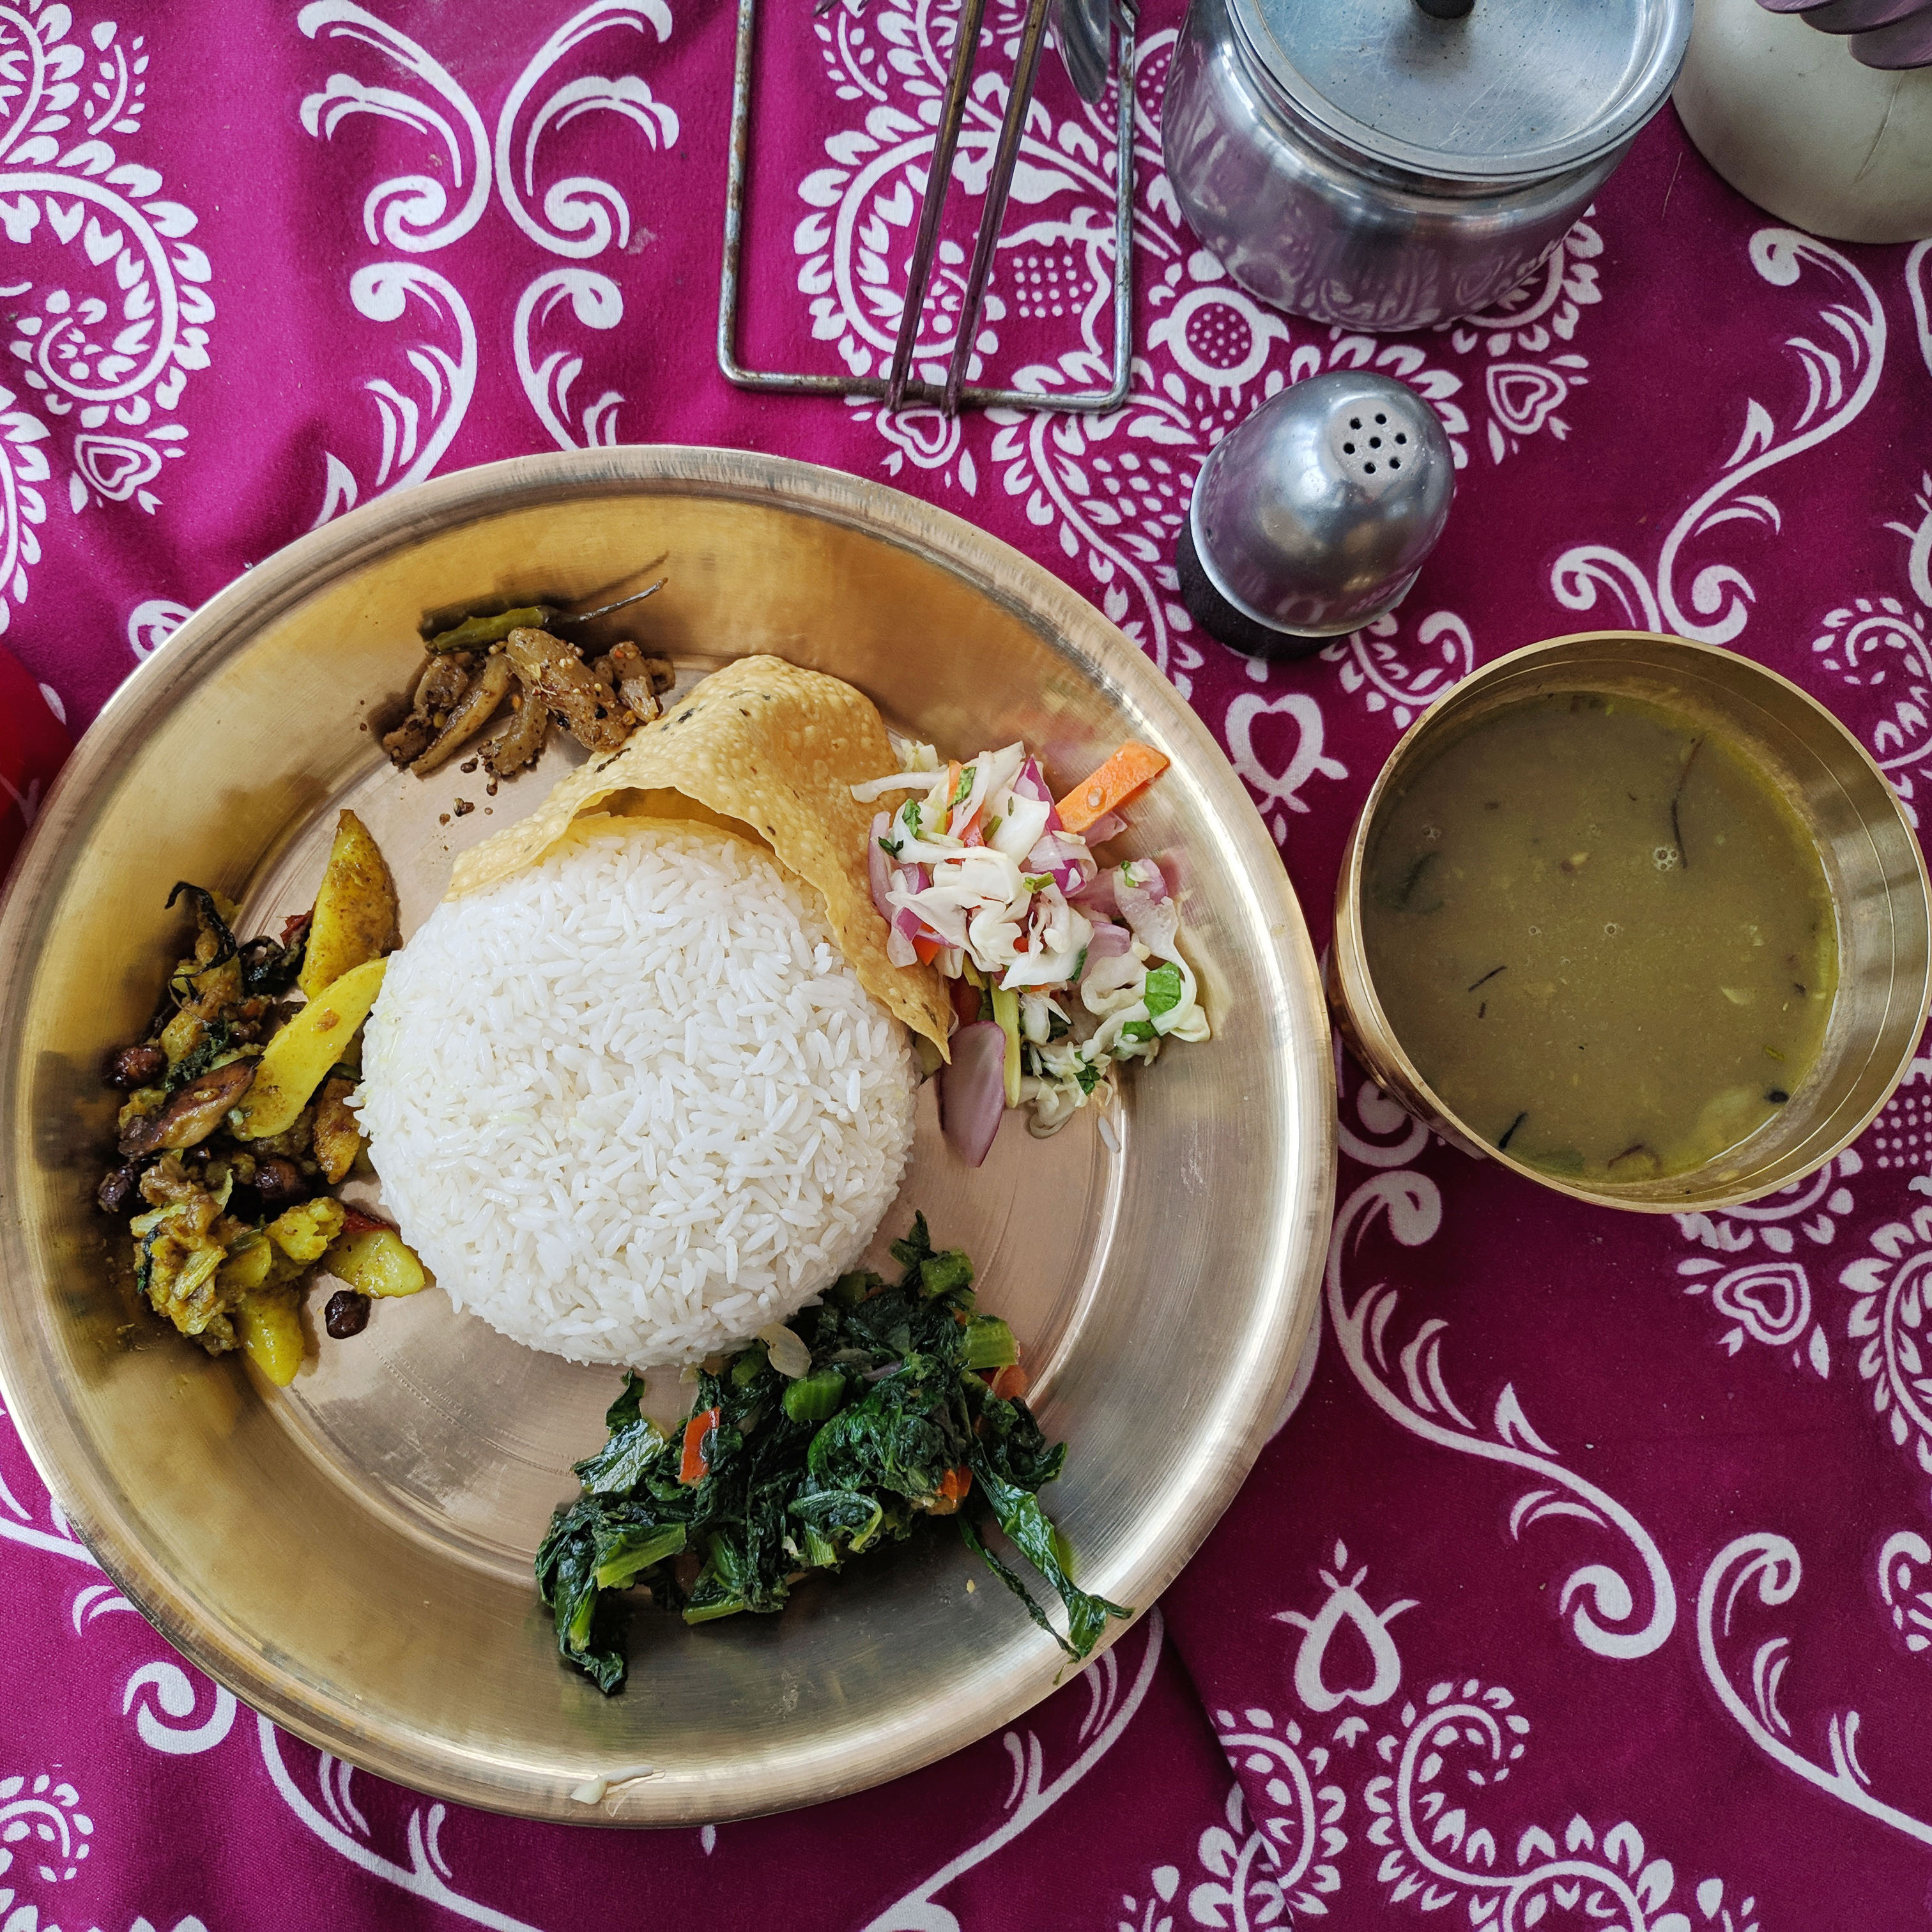
I arrived at a small village called Jagat around noon, and it looked to be a good place and time for lunch, especially after mashing up those climbs. Jagat seems like a happy place, the first village where marijuana was openly advertised. I chose a decent looking restaurant and ordered the usual – Dal Bhat, which literally translates to Lentil Rice, a vegan meal consisting of white rice, lentil soup/curry, vegetables, potato, achar, and poppadom.
A staple dish along the trek, it is very filling and offers a good amount of carbs to top and prep your body for the journey. The best thing about ordering Dal Bhat on the trek is that you can have free refills as you please (although they start making faces by the third round). For some unknown reason, poppadom was not part of the free top-up. The price of the meal will reflect the elevation of the place – the higher, the pricier it gets.

Midway through lunch, two riders on their mountain bikes popped up around the corner and I invited them to join me. They were my Italian friends – Francesco & Francesco – who are serious enthusiast riders back home. They had rented a MTB from Kathmandu with similar arrangements as I did, having travelled to Besisahar and started riding on the same day but on a different timeline.
We had a good chat about the Giro, Dolomites, Madonna di Campiglio, and other cycling topics as well as Italian customs (that’s when I found out they don’t drink coffee with milk after lunchtime). We parted ways after two espressos and a black tea, the latter being for me, the Asian guy.
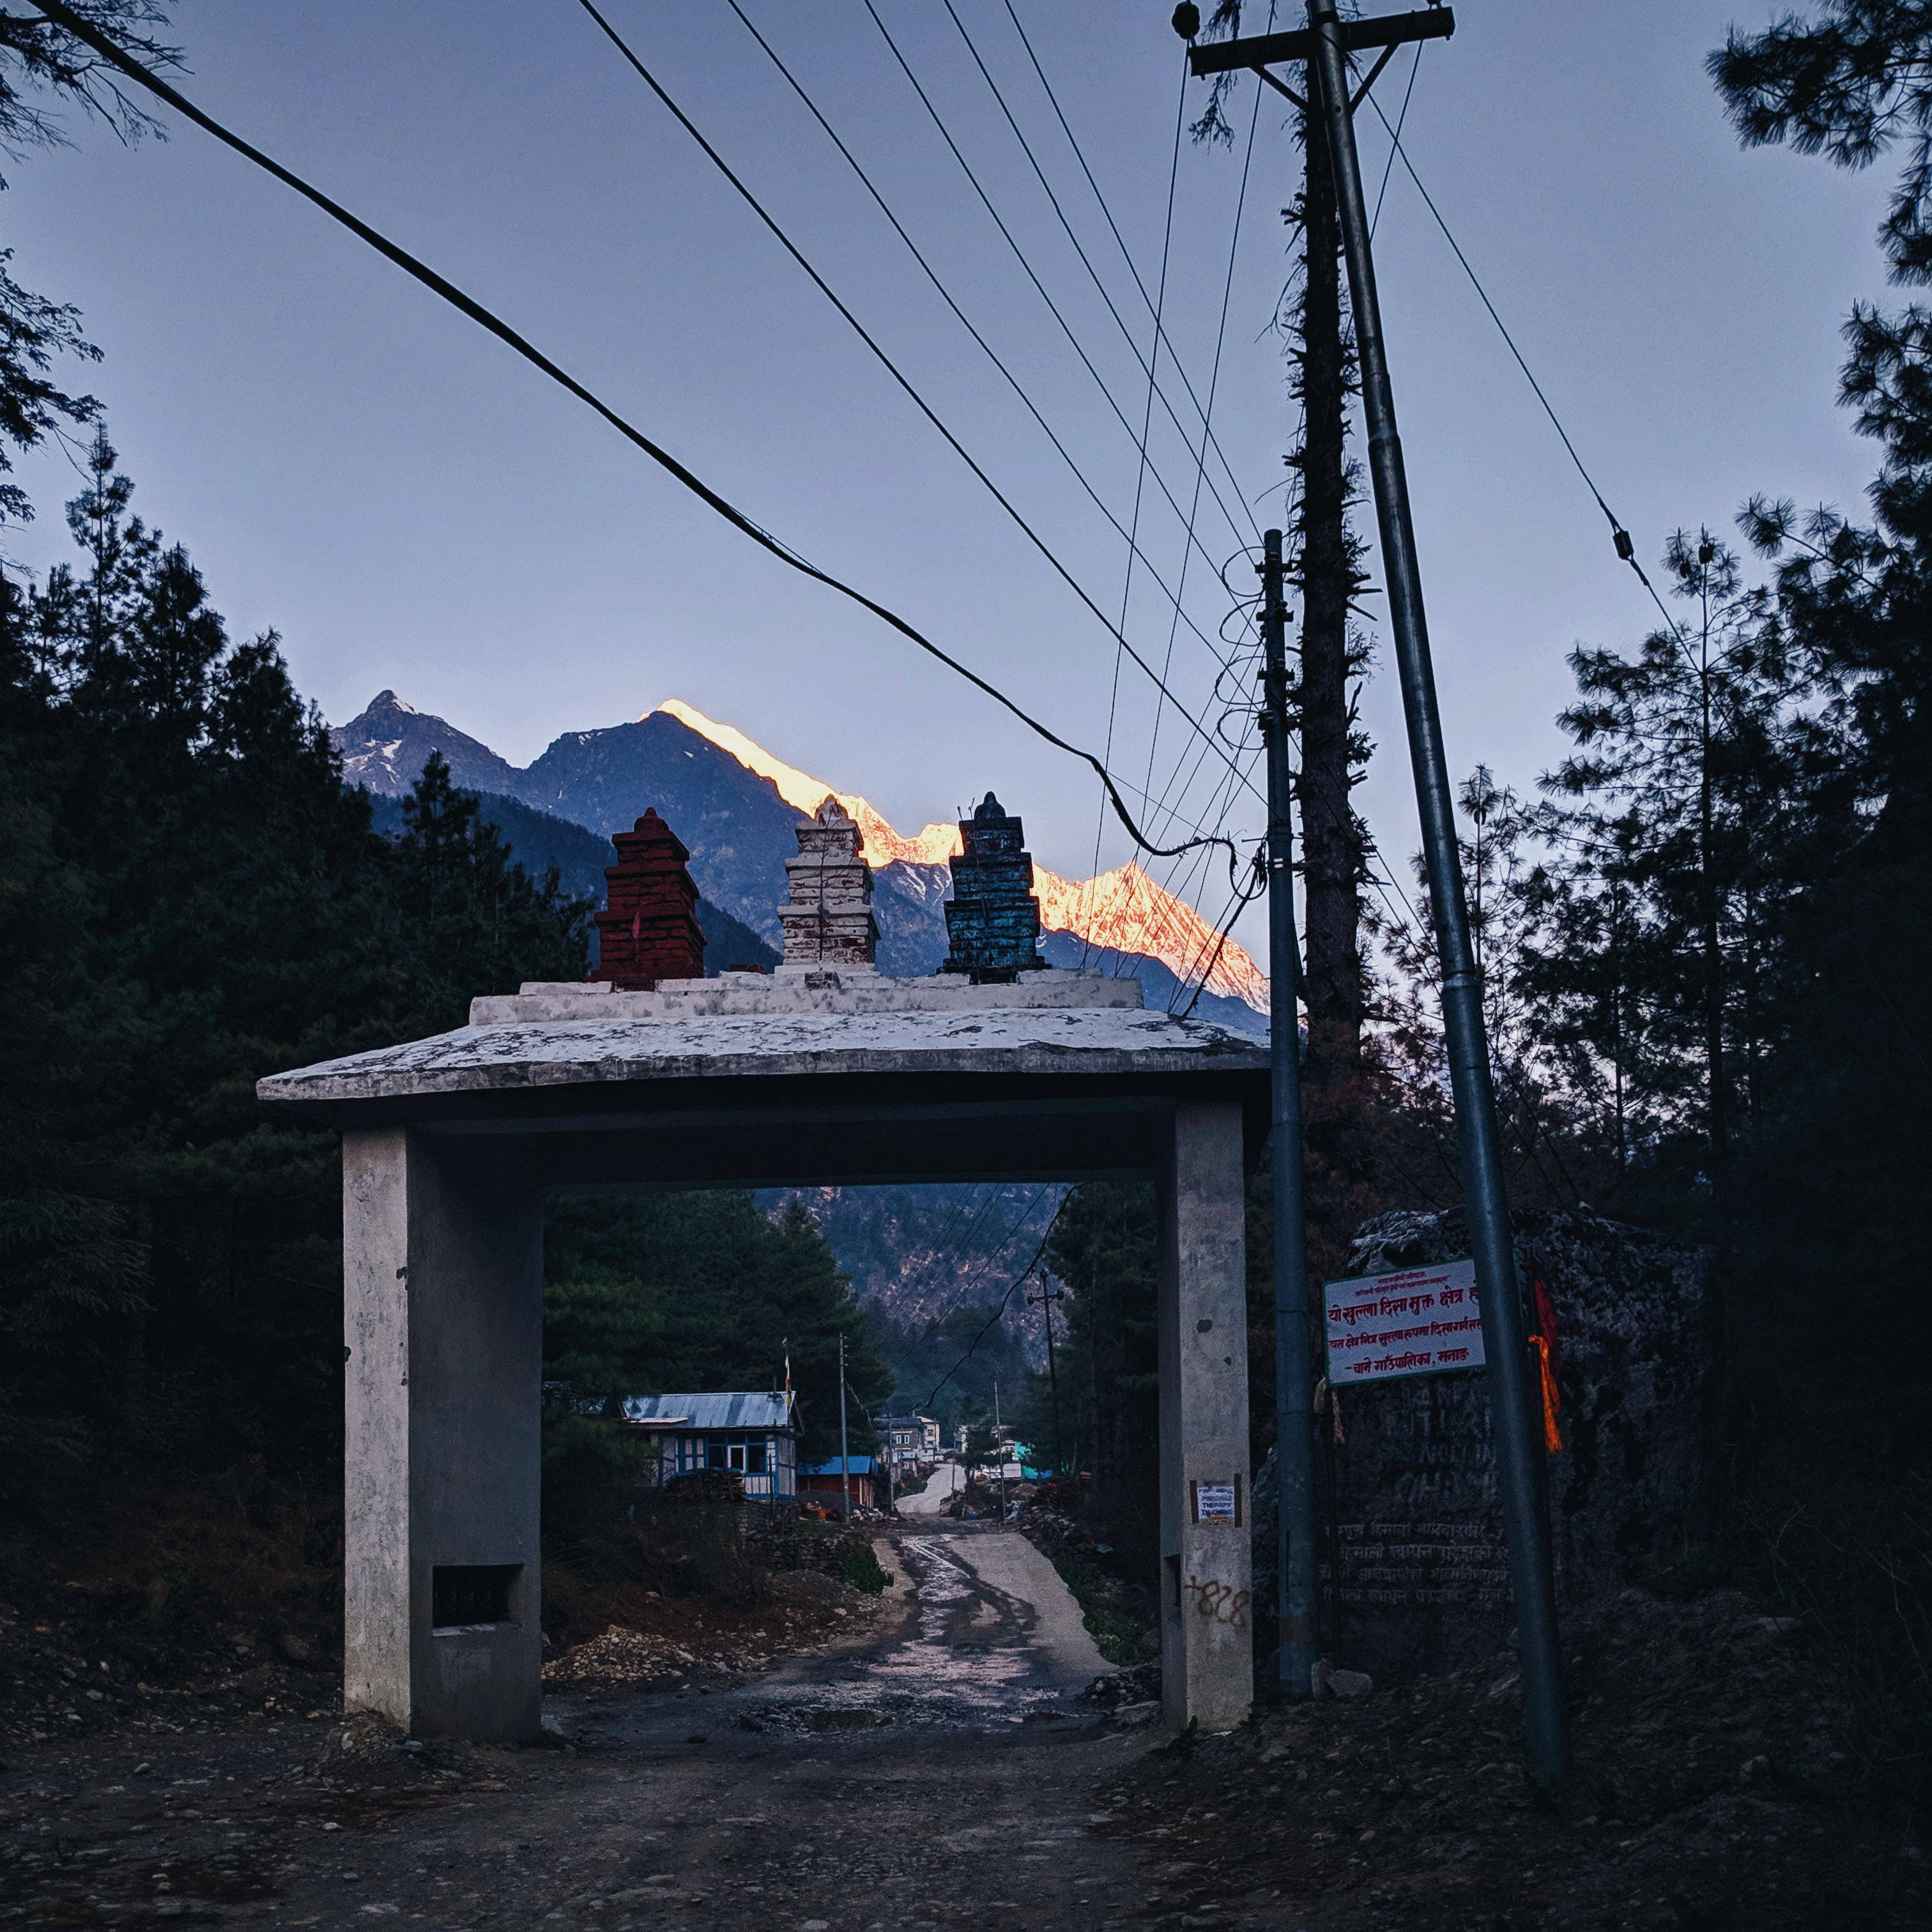
I continued my ride, and as soon as I approached Tal village, I knew I wanted to spend the rest of my day there. The geographical location is unique as the village was sort of in a valley, like a delta for the Marsyangdi river, with a big waterfall behind it. You will come to a big descent from the road and then merge with the trekkers route at the bottom of the trek. You will ride past a big field and finally reach the village entrance gate.
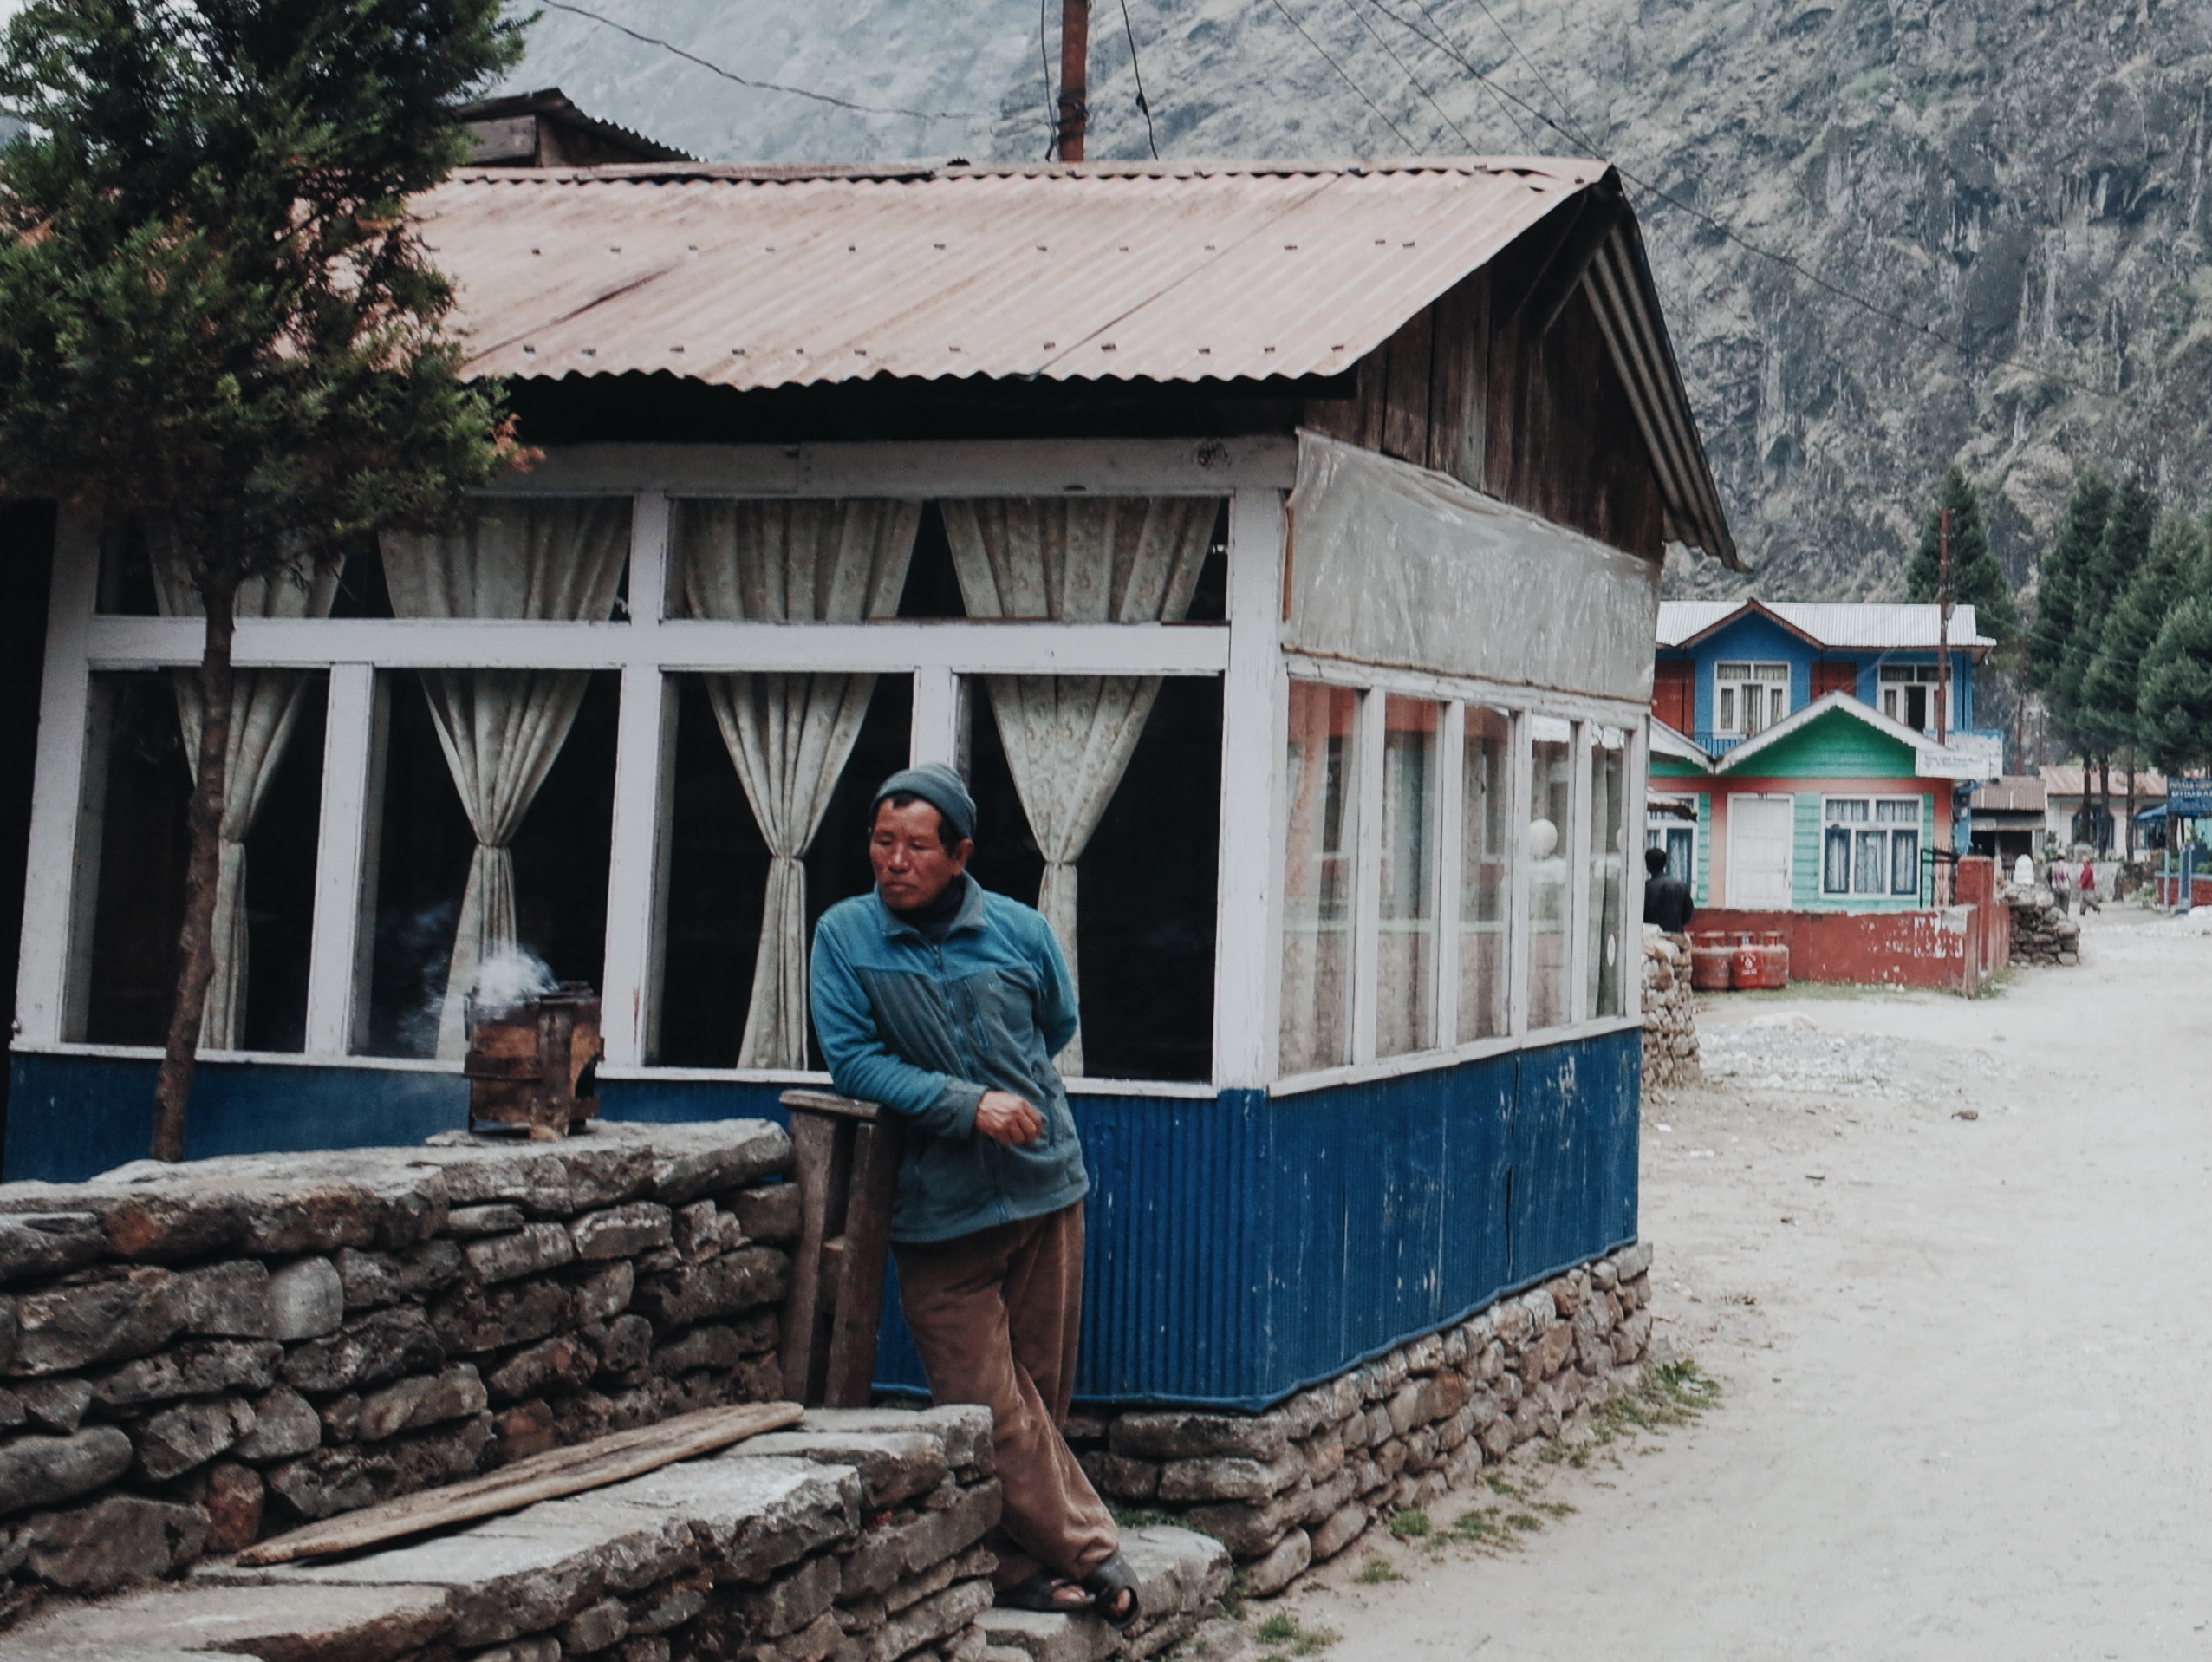
Typically when you enter a village or town along the trek, there will be a stretch of guesthouses on each side and a merchant hub in the middle. Generally, pricing is about the same; you can bargain for a free bed/room and only pay for dinner and breakfast the next day – although it might not apply during peak season or on popular segments.
If you feel like making friends and talking with other trekkers, get a busy guesthouse. Generally, you can tell the mood from the guesthouse’s restaurant or communal area. I did not pick that option in Tal as I wanted to spend the day relaxing alone, so I got a free room at Marsyangdi Guesthouse (where I was the only guest for the night) and only needed to pay for two meals.
I went for a stroll through the village and saw the Francescos staying at the last guesthouse, Tashi Delek, so I gave them a quick visit. Fun fact: its name is the Tibetan version of ‘namaste’. After chilling at the family-run guesthouse for a while, I actually recommend staying here instead if you drop by Tal village. I spent the rest of the day enjoying snacks and digestives from the shop and basking in the waterfall from the rooftop, before heading for dinner and calling it a night.
Day 4: Tal (1,700m MSL) – Chame (2,710m MSL)
The next day started with a quick breakfast, then checked out and made a refill trip to the water station. You should not have problems with water along the trek due to strategically placed water stations where you can fill drinking water (40-80 NPR per litre depending on elevation, most of them via honesty boxes).
I highly encourage using this method as it will minimise the plastic waste from bottled water; Nepal already has a big problem with plastic wastage, especially on the trek and mountain. The water has been treated so I don’t have any issues drinking it without further filtering or treatment. You can also put tablets for vitamins and flavouring. Nevertheless, I still recommend bringing a filtering system like Sawyer so you can utilise other natural water resources along the route.

After that, I dropped by the Tashi Delek guest house to continue my journey with the Italians. The trek coming out of Tal was parallel to the Marsyangdi river and includes a hike-a-bike section through big rocks before splitting to driveable road or the trekking route. We parted ways as they opted for a more challenging trekking route, but little that we know that we would actually meet again at a later stage.
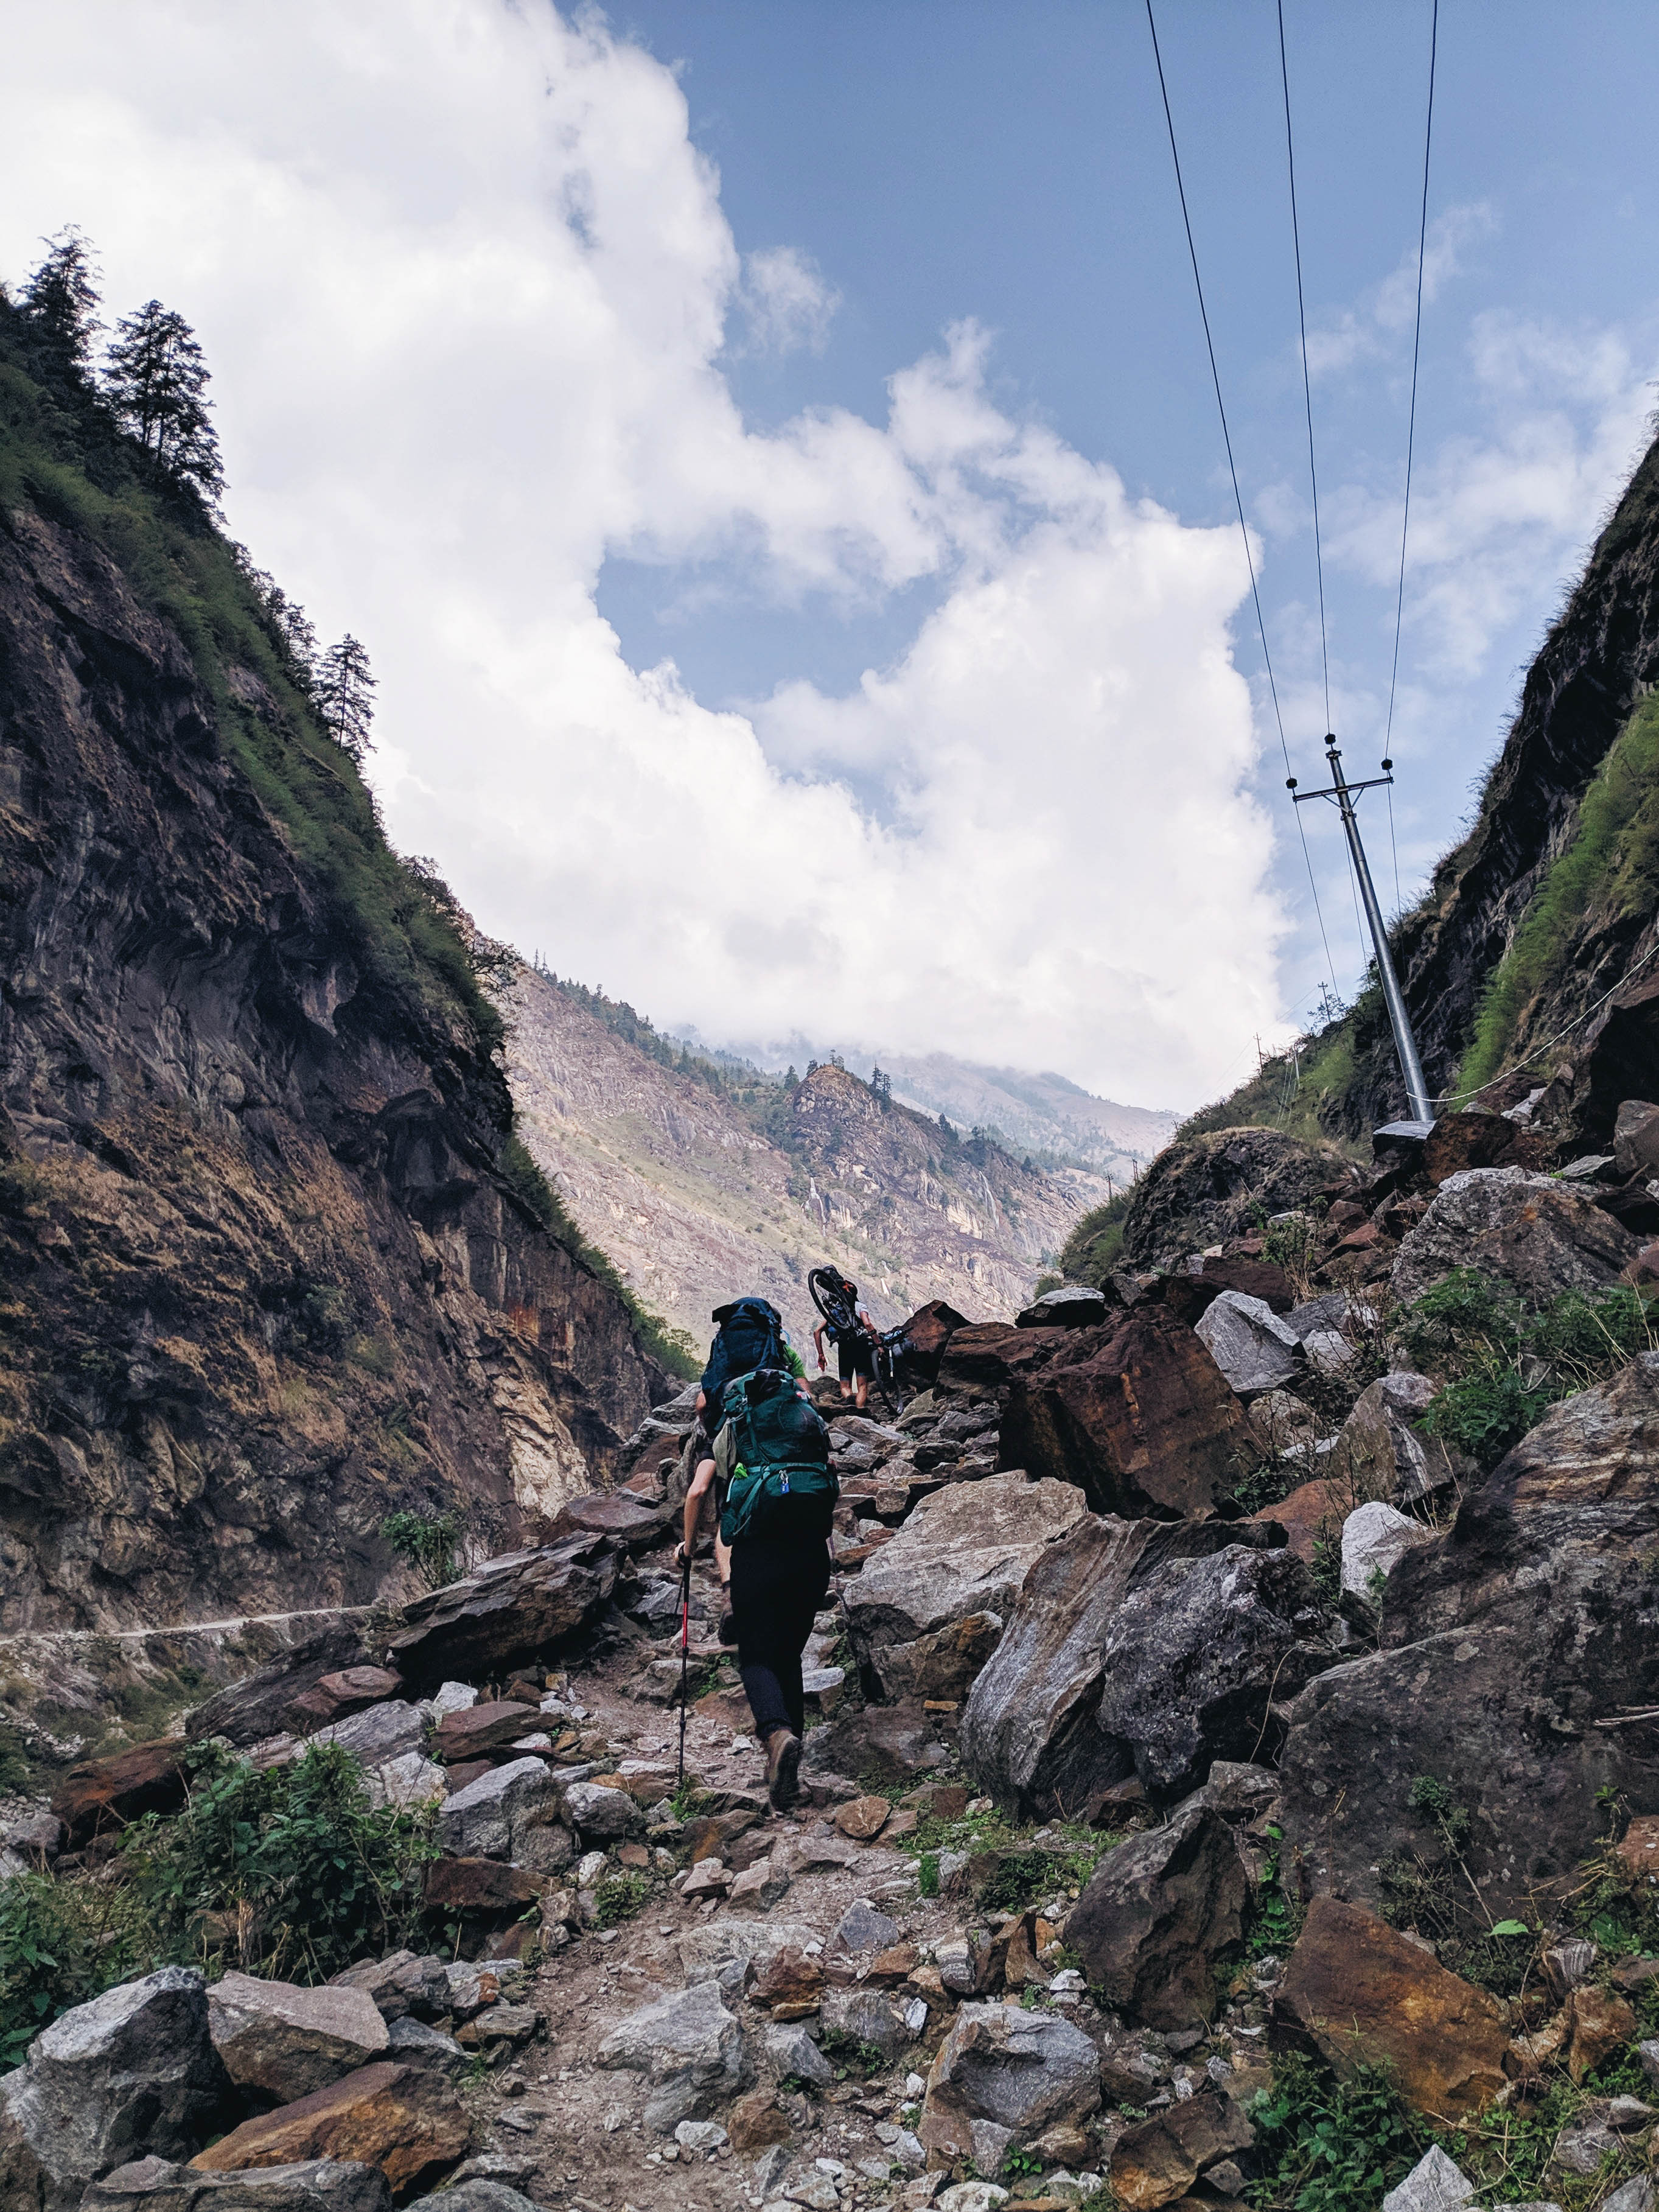
Tal to Chame is the section where the environment changes from tropical to alpine-like as the route gradually ascends to more than 2,000m MSL. You will need to keep drinking water regularly when approaching higher elevations because the air becomes drier and colder. As my previous highest elevation was at Mesilau, Kundasang (~1,900m MSL), I had to take extra caution when moving past that altitude.
The route has several river crossings via the suspension bridge and also some riding through waterfalls approaching Dharapani. Further north, there’s an ACAP post to stamp and register your movement. At this checkpoint, there will be more crowd than usual due to the location’s intersection with the Manaslu circuit trek.
I rode into steep switchbacks pass Bagarchap and went for lunch with a German couple in Danaqyu village. I was offered free Diamox, a medication to negate altitude sickness, as they were descending to complete their trek. I happily took it and we shared some fresh joints from Manaslu before heading off to continue my journey. Further up, just before reaching Chame, there’s a police checkpoint in Koto village where you will be queued and registered as Chame is the administrative capital for Manang district.
Upon entering Chame’s main gate, you can see the Annapurna II peak if it is not obscured by clouds – this is the first proper mountain encounter throughout the trek. Chame is a big bazaar, with an abundance of small shops for supplies (including medicine) and many guesthouses to choose from. I decided to cross the river via the suspension bridge and went to the other side of the village, which is quieter.
I checked into Hotel Mountain Lodge with an agreed free room, only needing to pay for two meals. The guesthouse was located beside Chame’s hot spring where you can relax in after a long climb. At 2,710m MSL, the effect of the high altitude can be felt with temperatures dropping rapidly in the evening.
Hence, I took one more Diamox but was not prepared for its side effects – I had to wake up every two hours to pee, and that was when I knew how it works on your kidney to prep the body, and the by-product would be excreted through urine. From then, I decided not to take any more medication and paced myself for proper acclimatisation. The mountain view at 2 a.m. whilst walking to the toilet was amazing though.
– End of part one. –
Part two will cover the route at a higher elevation of more than 3,000m MSL, the pass to Thorong-La at 5,416m MSL, and descending to a different landscape where Tibetan people and culture are more pronounced.
It also will demonstrate the importance of acclimatisation and how to effectively do it, which is why this trip is written in altitude metres instead of distance kilometres. I will also combine the technical wear needed for this excursion and my bicycle packing recommendation in the wrap-up section.
Note: Since the time of writing, the Trekker’s Information Management System (TIMS) permit is no longer required for the Annapurna Circuit. Ensure you check the latest regulations and permits needed before planning your trip.


